There's a cute little raglan sweater that goes with the booties and cap, but I haven't put it together yet. The booties will get a white ribbon at the ankles after I find the ribbon. What do you think; is this cap too small for an infant girl?


 And now for a solemn vow: As God is my witness, I'll never do pinch pleats again! And one of these days, I'll clean up that mess underneath that table too.
 Instead of my usual stippling, I outlined the dinosaurs in dark blue, then simply channel stitched the border, seen below on the back of the quilt.
 This quilt demonstrates that very easy quilting techniques may be used to good effect on a domestic machine. Our charity long-arm quilter recently had to recuse herself from participation, which caused some concern because hardly anyone likes to stipple but me.
 I used the backing flannel for the binding. (Note to self: ALWAYS press binding seams wide open to avoid big flannel lumps.) It took me longer to bind this quilt than it did to quilt it. And the pins really had it in for me. I got a ding on my palm that still hurts today. lol


 The purples are multiple fat quarters (and smaller) from my stash.
 And the orange water colors are from the Las Vegas remnant bag cram of 2008.


 With lots of cool zippers.


 Here are the three appliques. I don't think you can tell that they are structural components too. And BTW did this quilt ever shrink! I don't know what was in that batting, but it lost at least 3" in either direction. I've never heard of such a thing! That's more like 8% than 5% shrinkage. It got extra soft too, especially the flannel.
 And here's my Sweetie Pie, looking for all the world like the next door neighbor in Home Improvement. He's such a big help to me. 8)

 This may well be the smallest stipple I've ever done on a quilt top. Believe me, it needs the extra strength! I kept finding more weak seams as I went on.
 I think the polka dot binding will really bring out the applique patches. I was lucky to find such a snazzy coordinating fabric.
 This is where it's at now. I would say it's about 90% stippled - 5 bobbins worth. All that enormous Minkee stippling made me forget how much thread can be consumed by such a small quilt!
 I should be able to easily finish all the stippling tomorrow. All that's left then is to bind it, label it, wash it and dry it. I definitely want to have it ready for the Blanketeer meeting this Friday. I haven't finished anything in ages and I have to set a good example. 8)
 For whatever reason, it got washed before its time. And in doing so, became the poster child for why 1/4" seams are the gold standard of minimum seam allowances. But after a bit of trimming...
 OK, a LOT of trimming; it's little flaws were exposed and sighed over.
 Well, a good pressing makes everything look better.
 I've decided I'll applique decorative circles over its few little owies. I found a coordinating brown fabric with white polka-dots last weekend for the applique. It will work for the back and binding too. A nice tight stipple should strengthen its mini seams enough for lots of wear and tear. Now I just have to get it done and it will be my August finish. I hate having skipped two months!
 We all decided that "it would be really cool" if I outlined all the states with invisible thread, so that's what I did. Fifteen broken needles later, here's what the back looks like. Of course, it's all in reverse, but I like the way it turned out.
 Here's Florida in reverse, with a little sailboat outlined as well. The oceans and gulf were too empty, so I outlined some of the little pictures too.
 Here's my home state of Wisconsin, and I'm sure the UP'ers, LP'ers and Minnesotans amongst us will recognize their states as well.
 And here's Texas, complete with the Alamo (remember the Alamo!) and a cow. Texas was too big to leave empty - lol. And you can see the compass rose at the lower left, helping to quilt up the Gulf of Mexico.
 Well, that's my April finish. It will take a few years for me to forget what a HUGE pain it is to work with invisible thread again, but it was worth it for this - especially now that it is done! 8)
 Since all of my completions lately have looked so much alike, here is a picture that is definitive PROOF that I did complete all THREE of the last set of "First Steps". (Instead of, say, flipping one around and calling it an all new quilt. lol)
 Ah yes, this is very satisfying, because I remember all too well that they used to look like this:

 Anne Kawper and her husband keep some animals on their hobby farm in Korschenbroich, Germany. Her favorite are the goats, which she has embroidered on her siggy for me. It has a tiny little bead for its eye. I can't remember the last time I got a simple stamped siggy like mine; I'm beginning to feel like a slacker.
 And Anja Ubber, from Neuss, Germany, has embroidered lovely delicate flowers with beaded centers to make this simple but stunning siggy. Ladies, I am so impressed with your work.

Naturally I had to look up where these ladies are located since I had never heard of Neuss, Korschenbroich or Monchengladbach (I don't know how to put the umlaut on the 'o' either, sorry). I figured they would be fairly close together since the ladies were sharing a post, and I was right. All three towns are in a line due west from Dusseldorf, with Neuss being practically a western suburb, and Monchengladbach perhaps 20 miles further west. Korschenbroich is between them. All in all a comfortable distance for stitching buddies, as long as the roads aren't too icy. 8)
I had REALLY exciting news today too. I was one of the OPAM challenge draw winners this month. ME? I never win anything. I sent my snail mail address off to Kris at TagalongTeddies just this evening. I can't wait to see what I got. My blogging buddy, Jo in Tasmania, sent me a teaser that the prize is really nice. 8)
 They have the same plush pink backing, which I love, though the pink embossed stars seem to disappear a little bit in the wash. Well, it WAS much cheaper than actual Minkee. 8)
 I've already washed the one (left) that I finished in January. It only shrunk up about 1/2", but what a big difference that makes, I think. The unwashed yellow one looks very different to me.
 I'm completely out of this striped binding fabric now, I'll have to bind the toddler in waiting with something else. ;) After that, I'll only have one more "First Steps" top left. That one is going to get a backing of really pretty turquoise Minkee. Then I'll only have one quilt top left. I'll have to start actually quilting again!
 This year I'm planning to make quilts out of my stash based on what backing fabric I already have. Otherwise it never fails that I use up a bunch of scraps for the top, then have to buy lots of the perfect backing fabric to finish it off. I end up with LOTS more scraps than I started with. Anyone else ever have this problem, or is it just me? lol
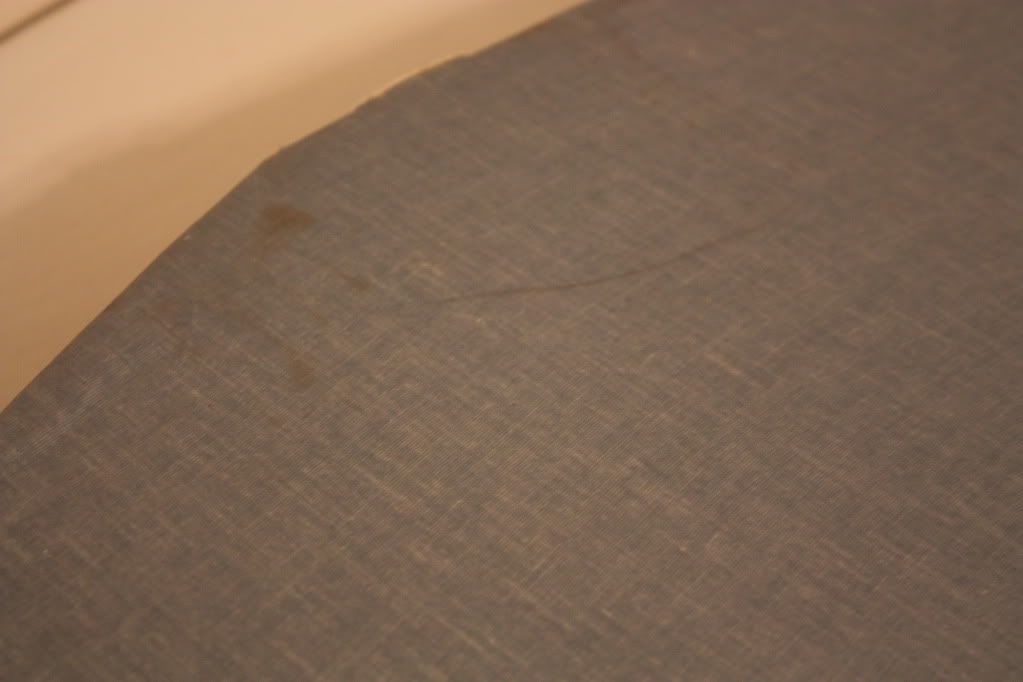
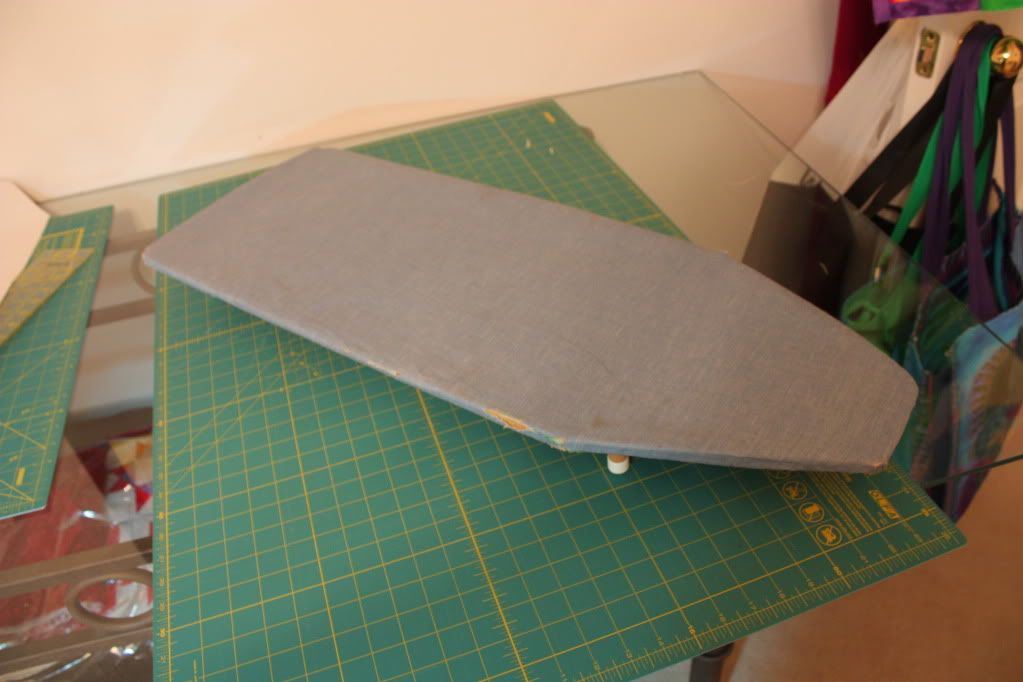 It was dirty and in sad shape, but I thought I could easily fix it.
 So a mere 13 years later, I got right on it! Larry & I consulted our handy Feng Shui guide, so that a "bad element" wouldn't accidentally be introduced into the "creativity corner" of the sewing room. 8) We decided that a pretty yellow and blue floral couldn't possibly have any "bad vibes".
 I made a paper pattern about 3" bigger than the top of the board. I pinned the pattern to the back of the floral cotton and rotary cut it out. I used a bit of cotton batting and pinned all 3 layers together, then rotary cut that out too. I added some old muslin for the bottom layer so I now had a quilt sandwich. I then removed the paper pattern and serged all three layers together. OK, this was NOT the genius idea I thought it would be. Despite ample pinning, my "sandwich" slipped all over the place. I had to stop after serging one side, smooth it back down again, then serge the other half. Despite my best efforts, the muslin bulged. Most annoying! I decided to just smoosh the excess under the cord channel and carry on. So I did.
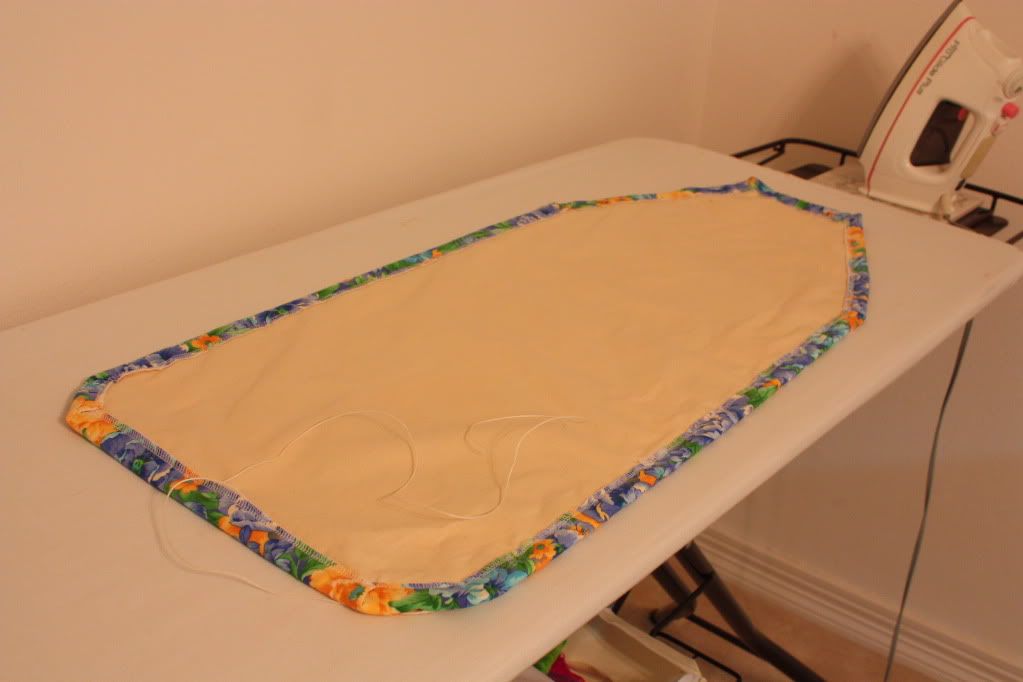 Using my walking foot, I sewed over the serged line, leaving a 1" channel for the cord, with a 3" hole to start and finish. You better believe I back stitched like fury to reinforce the edges of that hole! I knew I was going to have to pull like the dickens to get this thick wonky cover to lay flat on the board.
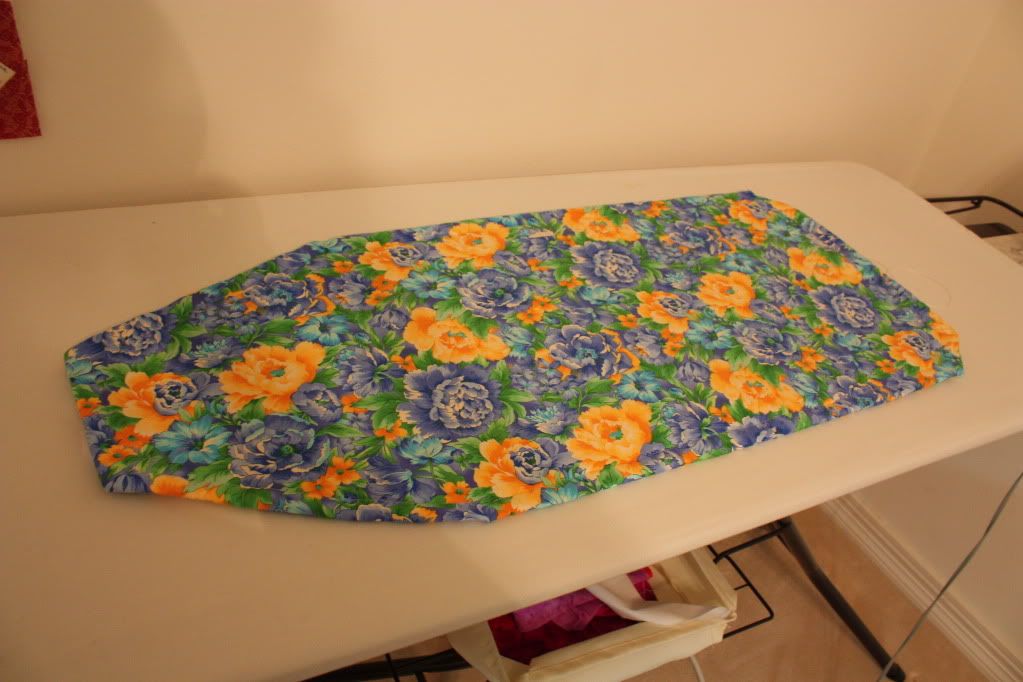 I threaded some kitchen twine on a big plastic needle and pushed it all around the thick channel. Very tiring for the hands that! I pulled and I tugged, then I pulled some more, and finally made a knot. Now it lays nice and flat. I left plenty of extra cord so if I ever need to wash it, the cord won't get lost in the channel.
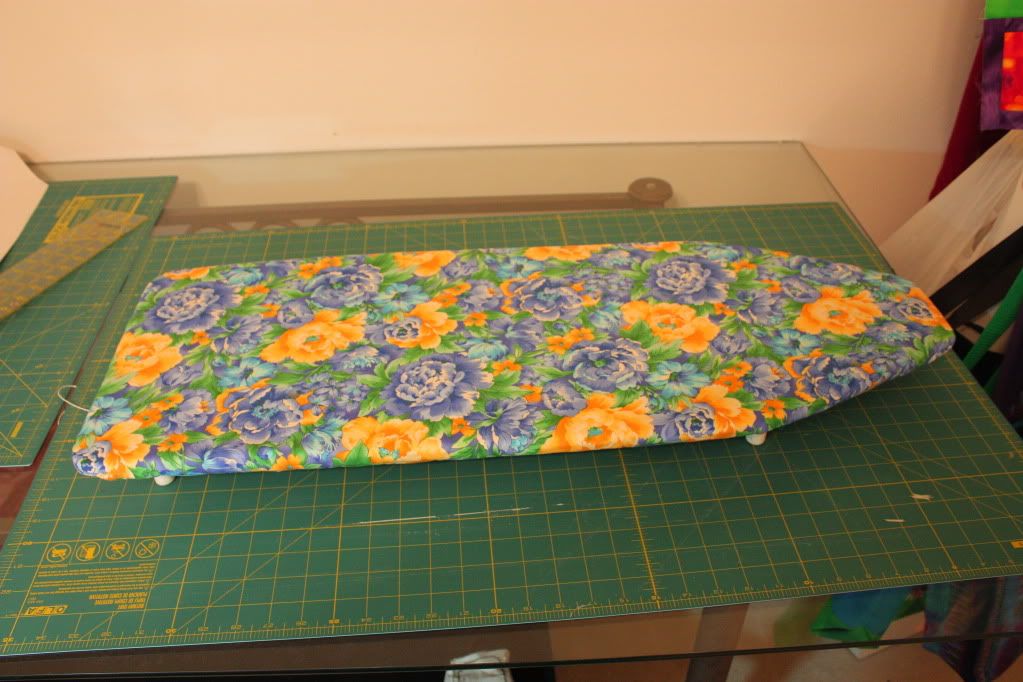 It looks lovely against the wall, which is where it will be 90% of the time (or more). It sure is more attractive now than with the dirty old cover. And it only took me 13 years. 8)


