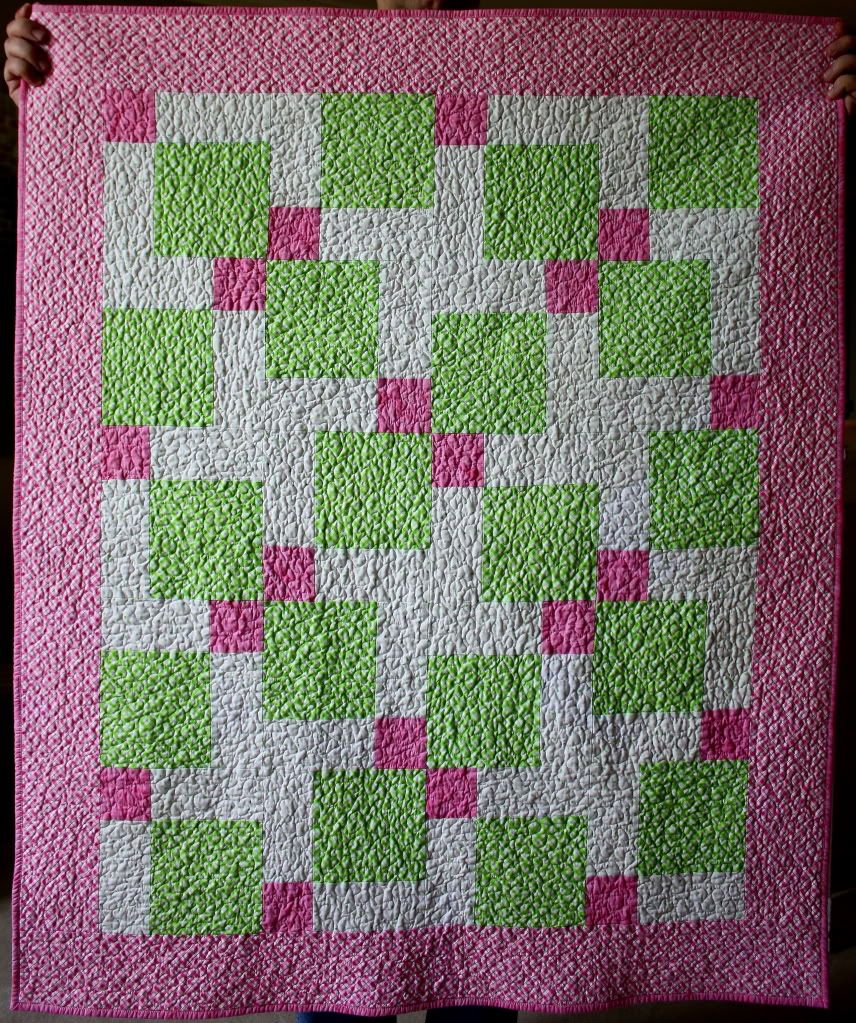
 The binding was especially easy to make with glue. Just lay down a patch of glue...
 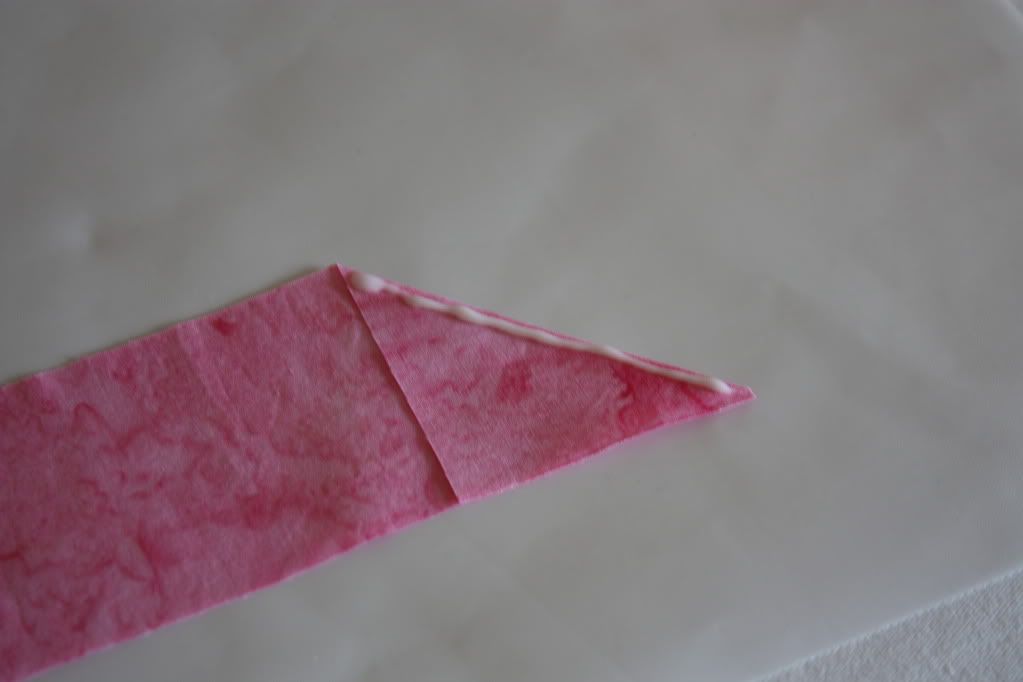 then line them up and iron them together.
 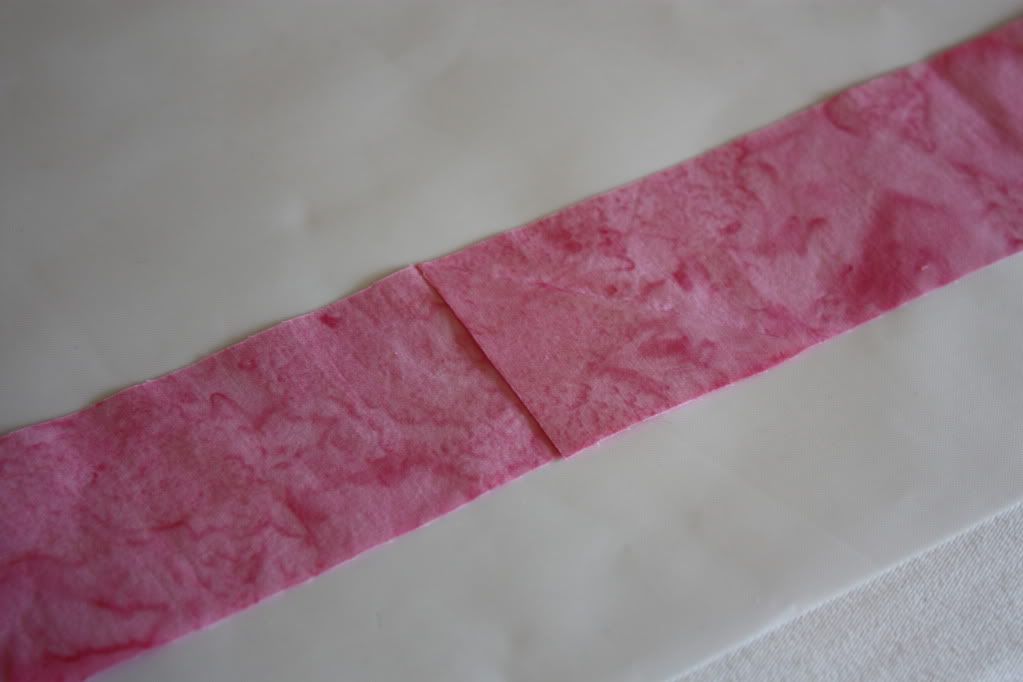 Heat setting really make the Elmer's bind quickly and tightly. And popping the fabric back to the seam was fun. Note to self: Always trim after popping the glue loose.
 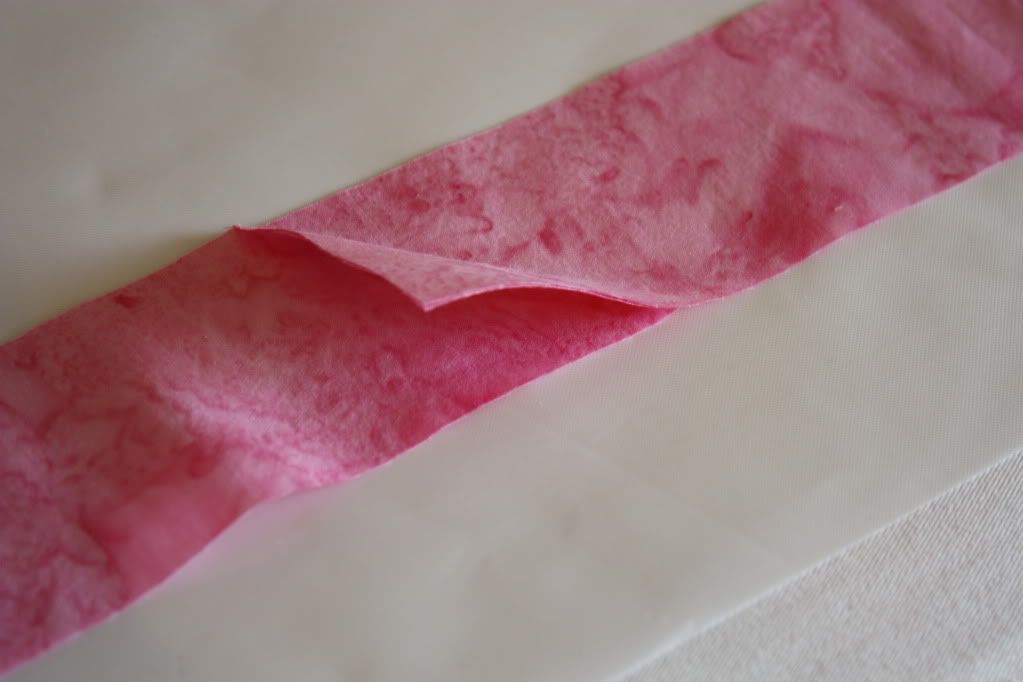 I guess my starch wasn't heavy enough, because my binding didn't stick to itself much at all when I initially ironed the binding. Note to self: Use heavier starch next time.
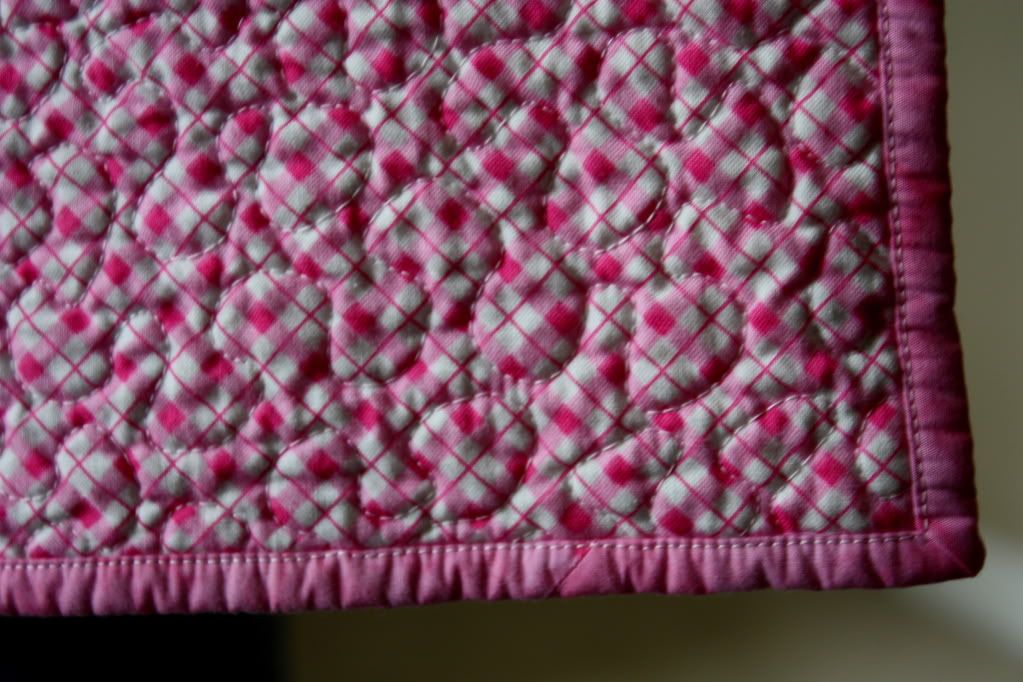 I also didn't measure my seam allowance very well, and as usual, didn't allow quite enough. This put more pressure on the binding to get it to overlap the seam line in the back, and made gluing it together a much messier proposition. Still, I was impressed with how well the glue held. An added benefit, all that glue stabilized the edges so well that the final seam went together like a dream.
 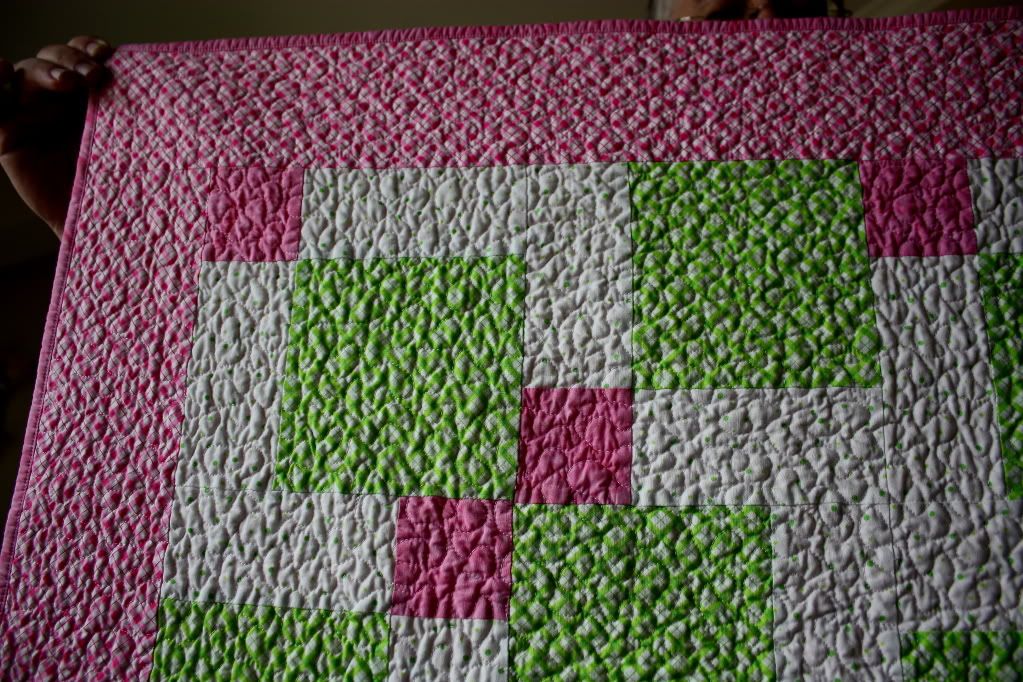 And to all you free-motion newbies out there, here's the real trick to making your stippling look its best: Buy 100% cotton batting and using the hottest washer & dryer settings the fabric can stand for maximal shrinkage.

7 comments:
I watched the video. I'll have to give it a try. The quilt turned out very cute.
I have yet to try binding. I haven't even made it to the quilting phase on any of my quilts. That glue technique does sound easy
This turned out really nice....I may have to try the glue basting myself.
Hi Susan... I just love your quilt and the tips are great... I am always ready to try new things that makes quilting easier... Hugs :)
Love the free motion quilting tip - that's one that I can use! Tracee xx
Where is the video?
Did you sew seams after you glued? This is very intriguing to me after wrestling with making my binding for 2 hours the other night.
Hi Susan.
Thank-you so much for the wonderful prize of all those lovely Kaffe Fassett fq's. Wow. They arrived safe and sound on Friday. Best April Fool's non-joke ever. I don't know what I'll be doing with them, but it will be fun imagining.
Sincerely
Heather
Post a Comment