OK, first things first. In paper piecing there is a pattern drawn in ink on one side of the paper. All the sewing takes place on the pattern side of the paper and all the fabric is placed on the blank side of the paper. This is the pattern side, as you can see, the fabric is pinned to the other side of the paper... ALWAYS [Note: The pattern pieces are labeled in the order in which they are be sewn, that is, first sew A1 and A2 together, then add A3. It's much faster and easier to work all seven pattern sections at a single time, so that is what I have done.]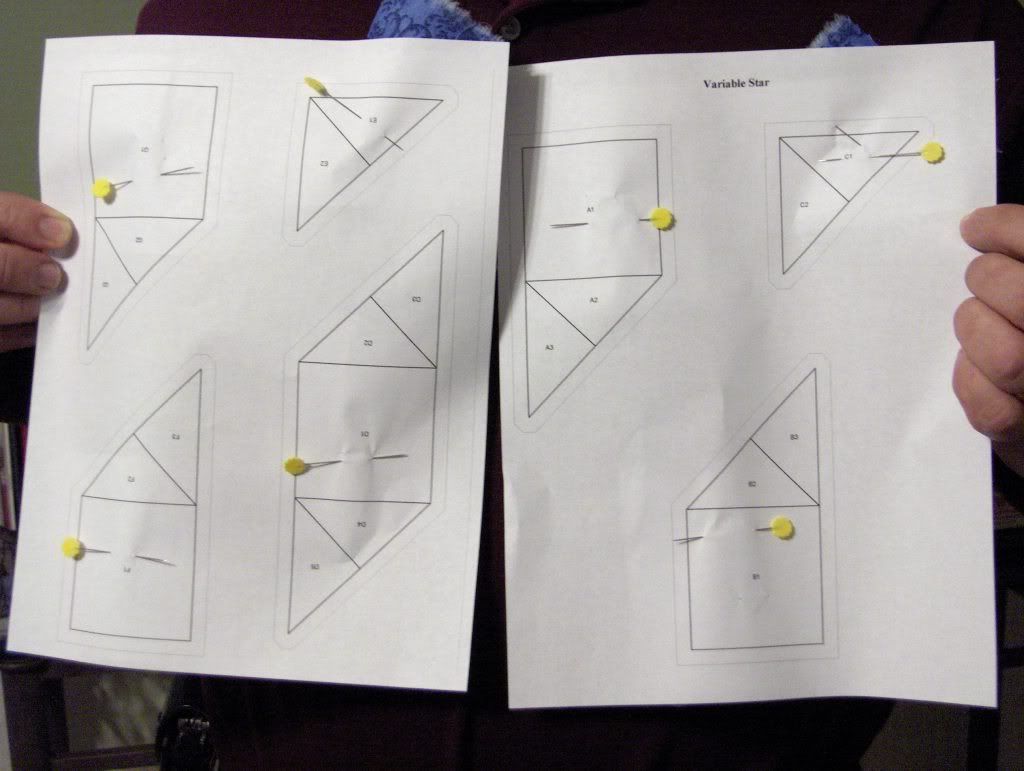 Second: For the Ohio Star, start by pinning the WHITE squares right side up to the blank side of the paper. They should be positioned so they COMPLETELY cover the #1 pattern piece in their section labeled A1, B1, C1 etc WHITE. By "Completely" I mean that when held up to the light, the fabric should extend out over both the bold inner sewing line and the lighter outer cutting line on ALL sides of the #1 pattern piece. Remember, the first piece of fabric in any given section ALWAYS gets pinned to the fabric with its RIGHT side up.
Third, note the color specified for the #2 pattern piece and place the second piece of fabric so it sits right sides together with the already pinned white fabric. Now pay attention, this is the hard part: the second piece has to be placed such that when you sew on the line between A1 and A2, it completely covers the #2 pattern section, including all the seam allowances. This picture shows all the #1 and #2 fabric pieces pinned right sides together waiting to be sewn.

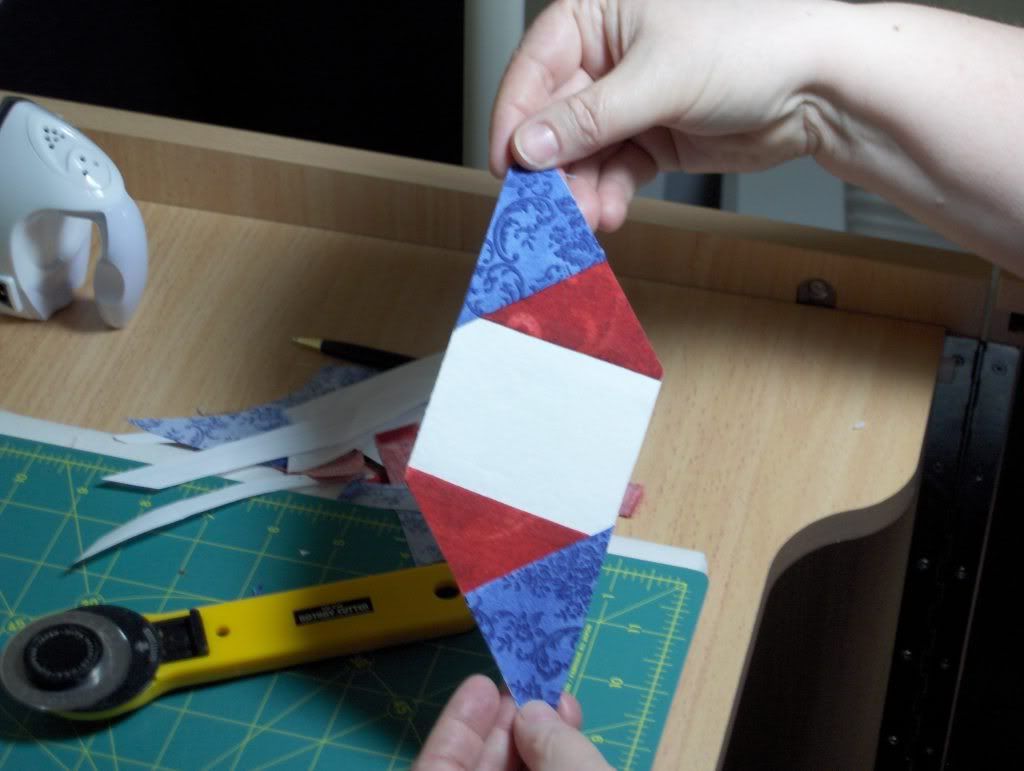
To get the placement correct, I eyeball the fabric on the pattern side with the future seam allowance folded over, to get a feel for how much leeway I'm going to have with the piece. If it's a tight squeeze, I'll have to be VERY careful when pinning down the fabric.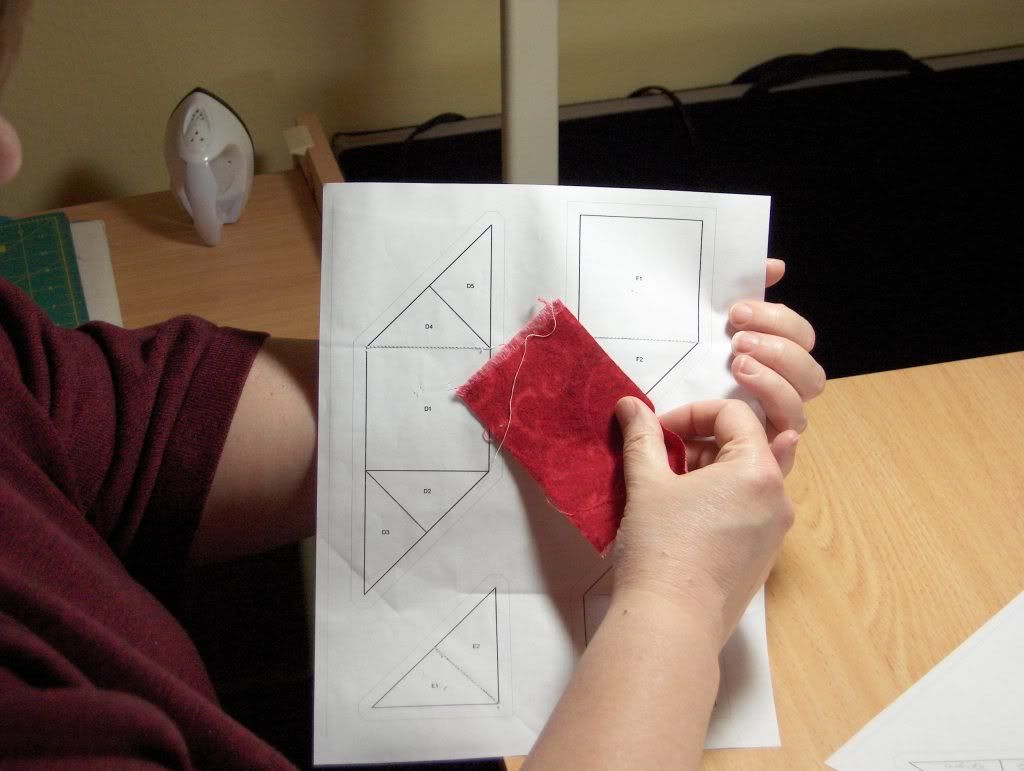 I switch over to the fabric side of the paper, with the future seam allowance still folded over, to determine exactly where the fabric needs to be after it is sewn in place. As it is shown, the red piece will flip over to fully cover the pattern on the other side after it is sewn into place.
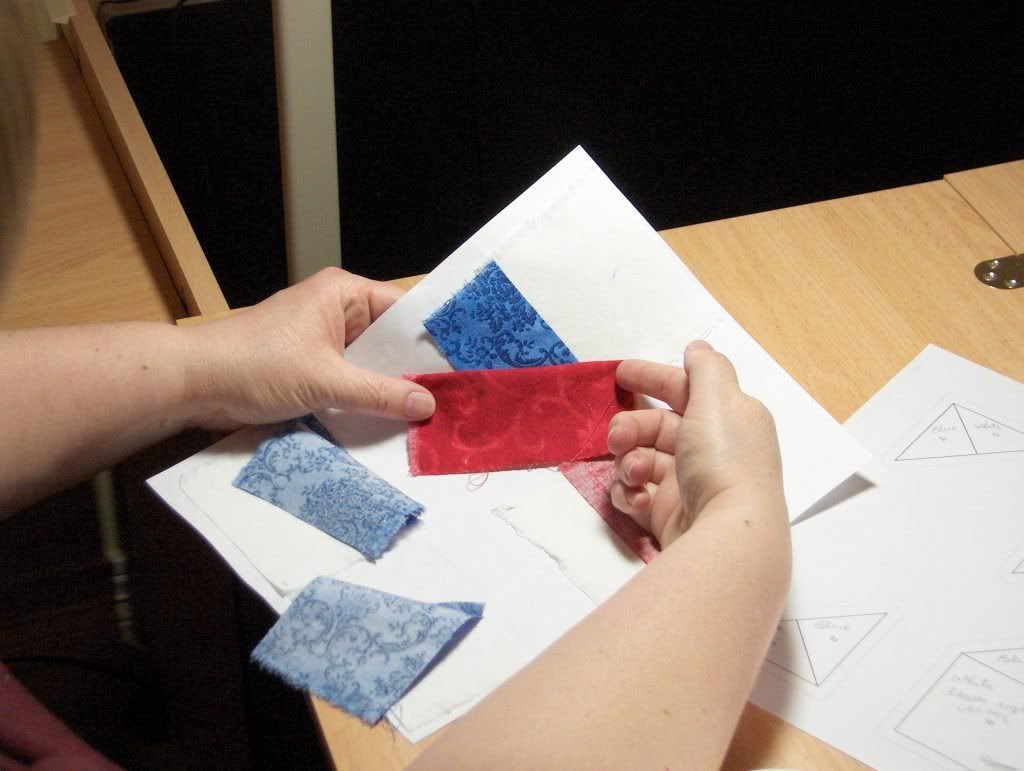 To determine exact placement, place the fold along the seam line, and, while carefully holding the seam allowance in place, allow the rest of the fabric to flip back for sewing.
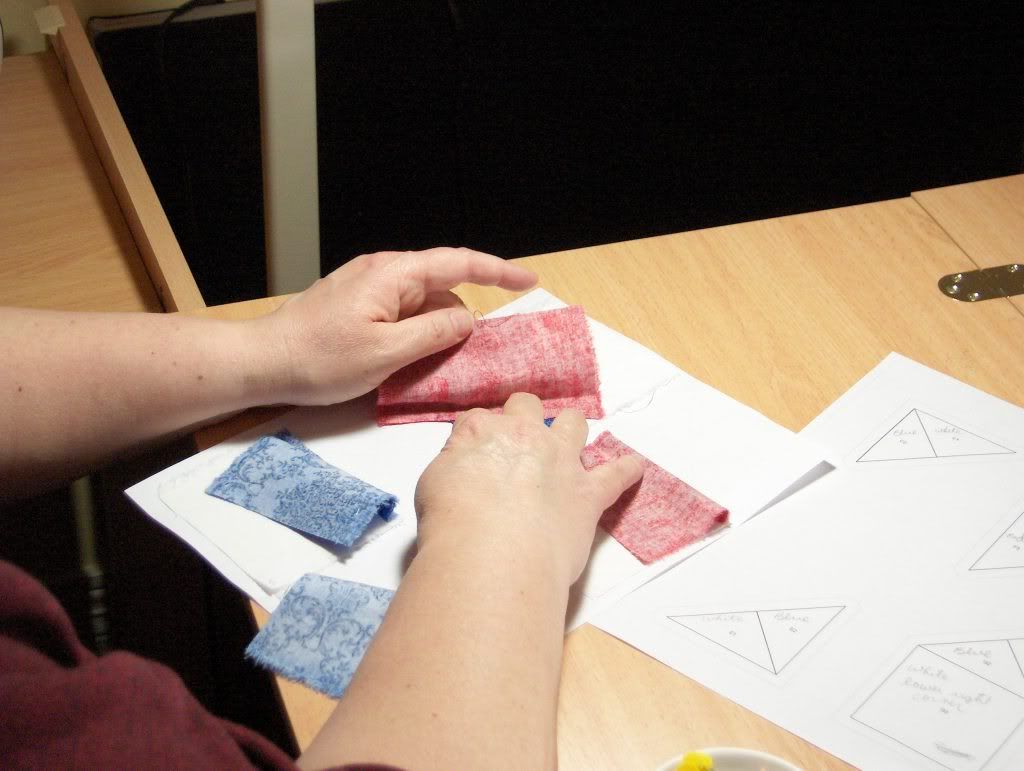 Place a pin where it won't interfere with sewing the seam. At this point the two fabrics will be pinned right sides together and ready to be sewn together.
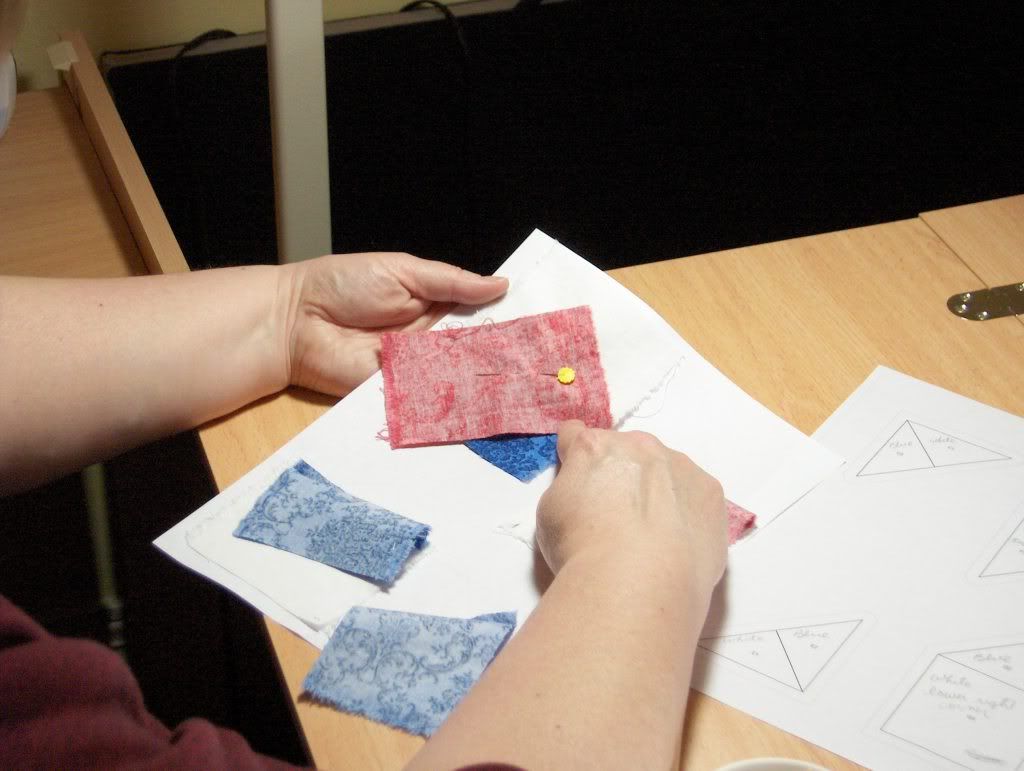 It's easier to see what it looks like after it has been sewn. Here C1 and C2 have already been sewn together. You can see that the light shadow of the White C1 fabric completely covers its triangle. I have folded over the blue C2 fabric piece over its seam line to verify that it completely covers the C2 pattern triangle including seam allowances. It does. If it didn't, I would have to rip out the seam, position the fabric better, then sew it again.
 Getting back to the sewing part, you want to sew paper side up, right through the line between the #1 and #2 pattern pieces. Do NOT sew through the seam allowances. I normally position the needle right on the line, take a few stitches, then run in reverse a few stitches, then do the whole seam, ending with a few reverse stitches to hold the seam in place. Here I am sewing the first seam.
 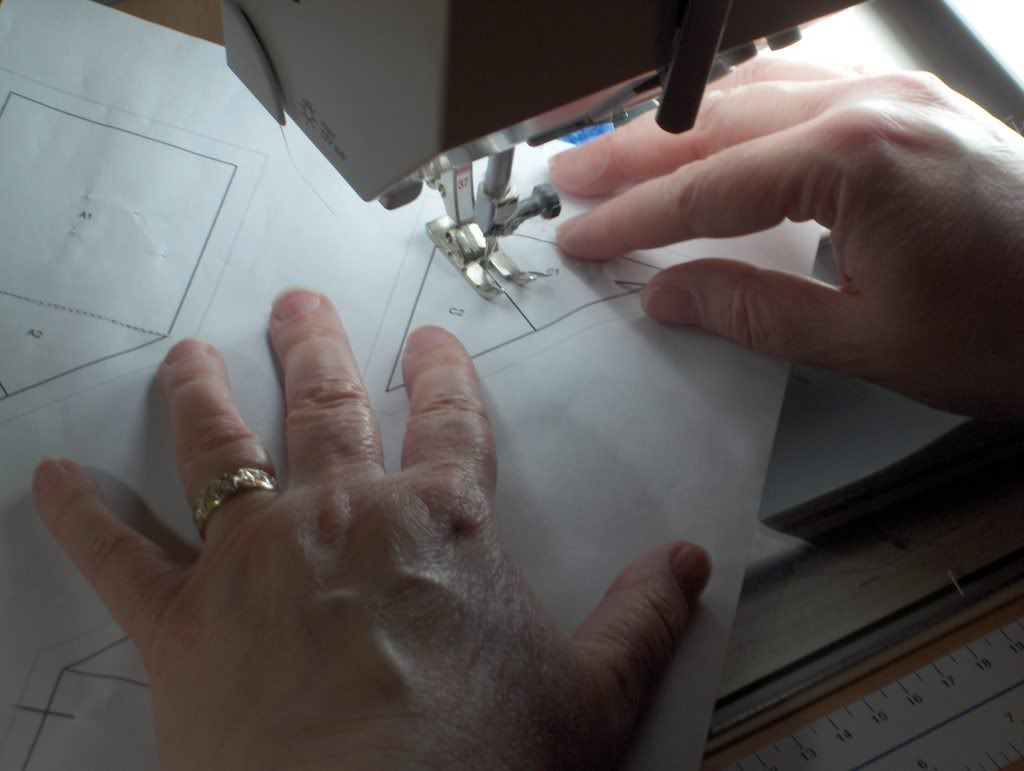 Remember, sew along the bold seam lines only, do not sew into the seam allowance.
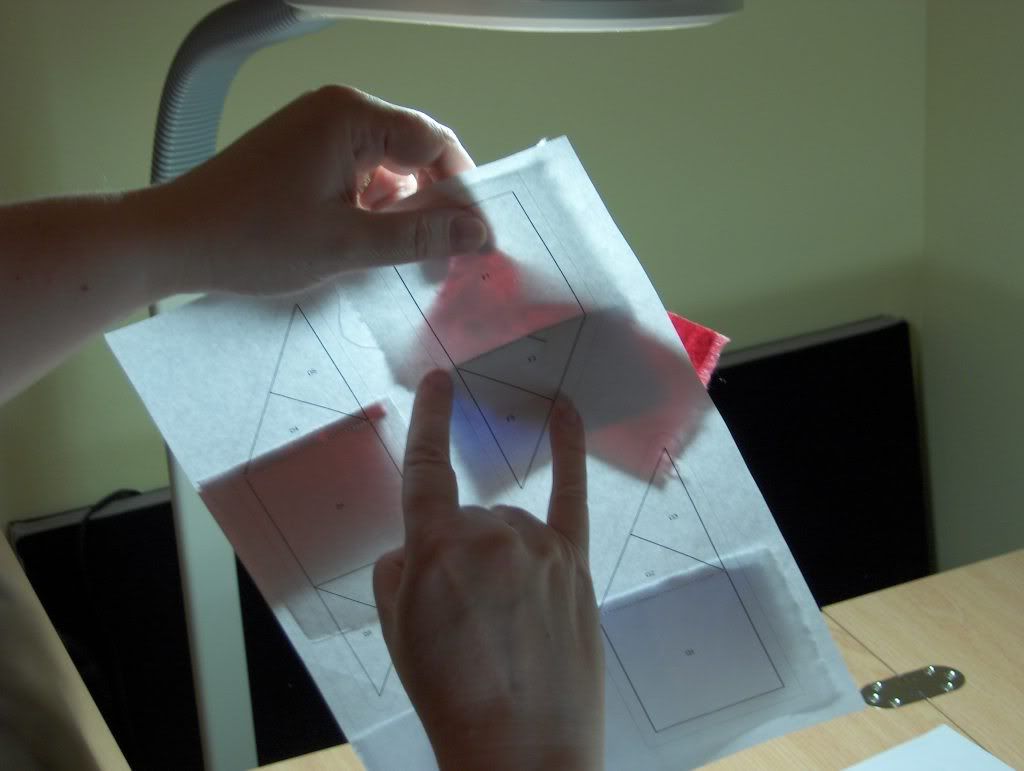 Now that you have sewn your seam, you have to trim the initial seam allowance to 1/4 inch. To do this you fold the paper back along the seam line. It folds very easily because of the seam.
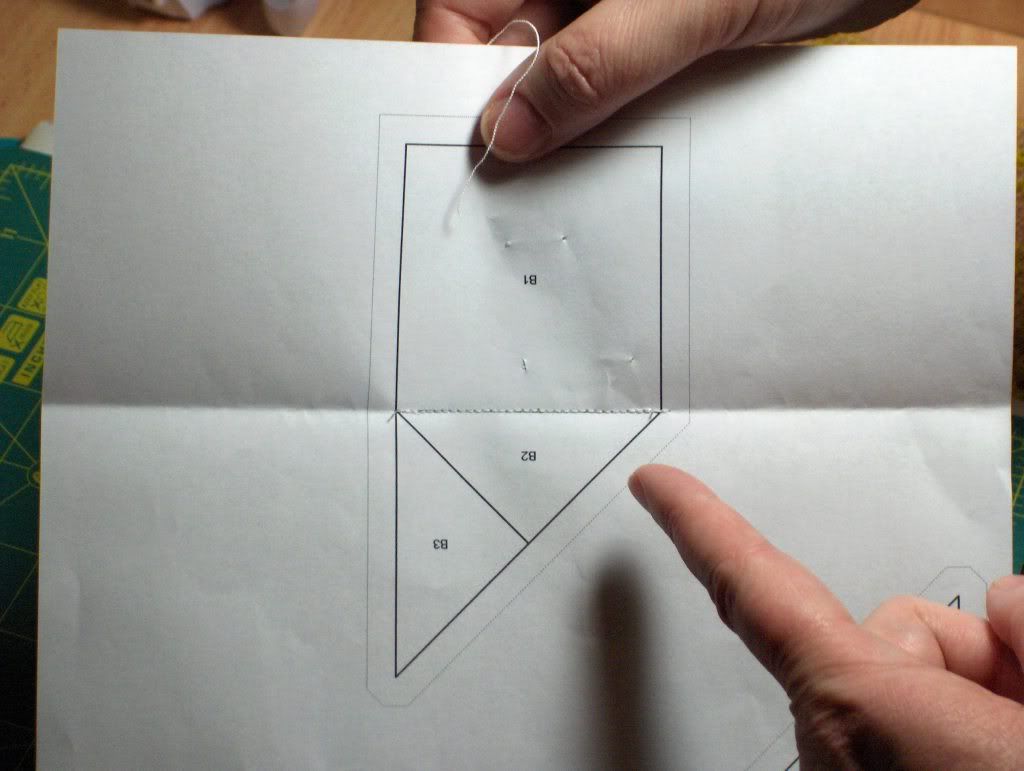 Fold the paper onto itself so the seam allowance you just created is dangling free.
 Using your rotary cutter and a ruler, line up the quarter inch marking on the ruler with the fold of the paper, then trim the seam allowance to 1/4 inch.
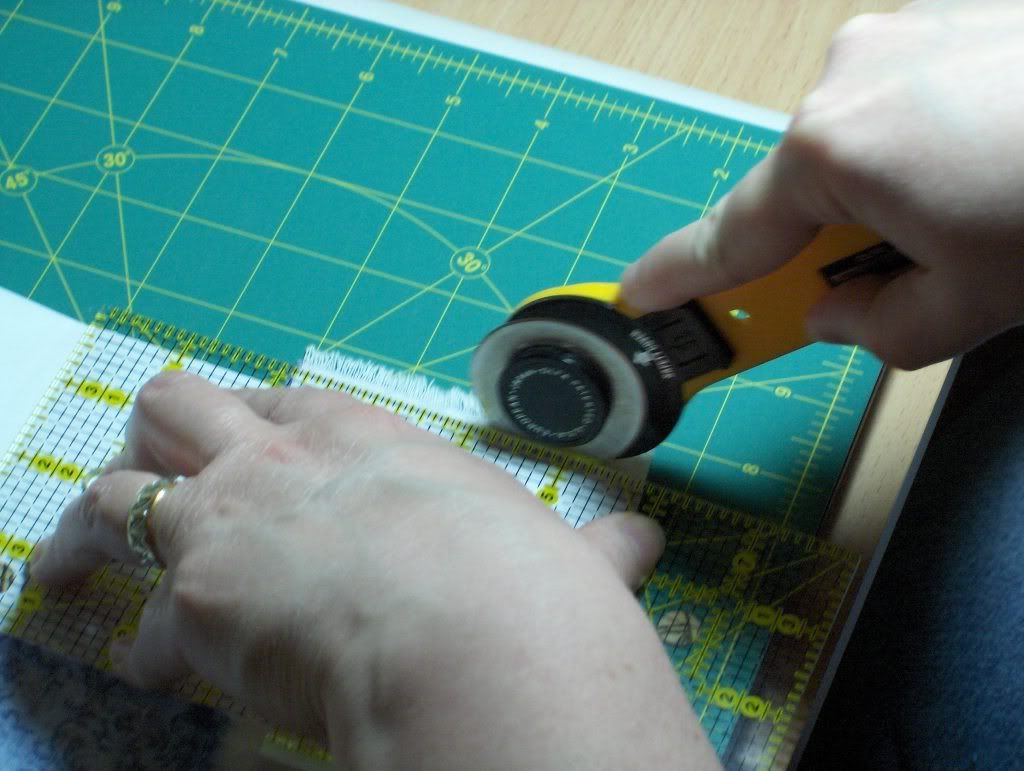 You should have a nice 1/4 inch seam allowance when you're done. Now it's time to iron.
 Iron the fabric nice and flat along the seam. None of the sections have been trimmed yet, you can separate the pattern sections whenever you want, but don't trim the individual sections until all fabric has been sewn, trimmed and ironed.
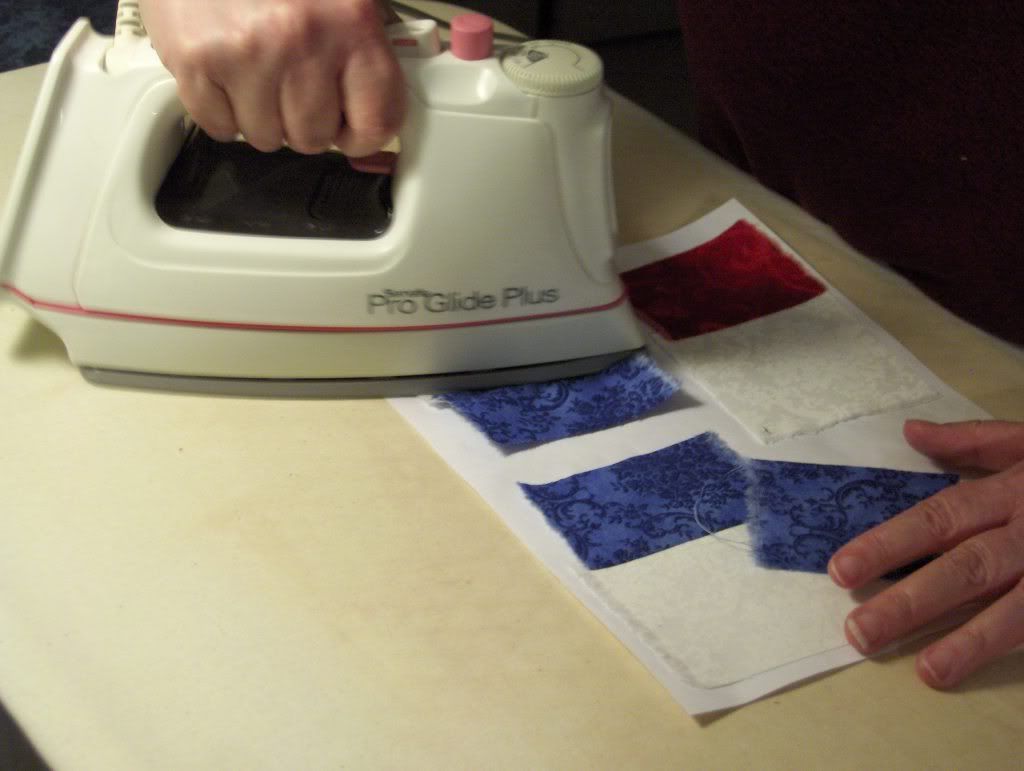 If the section you're doing has more than two pieces, attach the third piece to the second piece exactly as you did the first two. Leave all the paper in place, trimming only the seam allowances. Make SURE the second piece is laying perfectly flat against the paper while the third piece is being attached. If the fabric is distorted at all the design will be messed up and the pattern will not fit together correctly. Each subsequent piece that gets attached goes through the same process:
- Place and pin the fabric with right sides together on the blank side of the paper,
- Sew along the seam line on the pattern side of the paper,
- Fold the paper along the seam line away from the seam allowance,
- Trim the seam allowance to 1/4 inch,
- Iron the fabric flat so the right sides are facing outward.
When all the pieces of a section are completed and the final piece has been trimmed and ironed, then it's time to trim up the section. Line up the ruler along the outer light cutting line (NOT the SEAM LINE!!!) and trim off the excess paper and fabric both at the same time.
 Trim all sides of the section, leaving the quarter inch seam allowance between the sewing line and the cutting line intact.
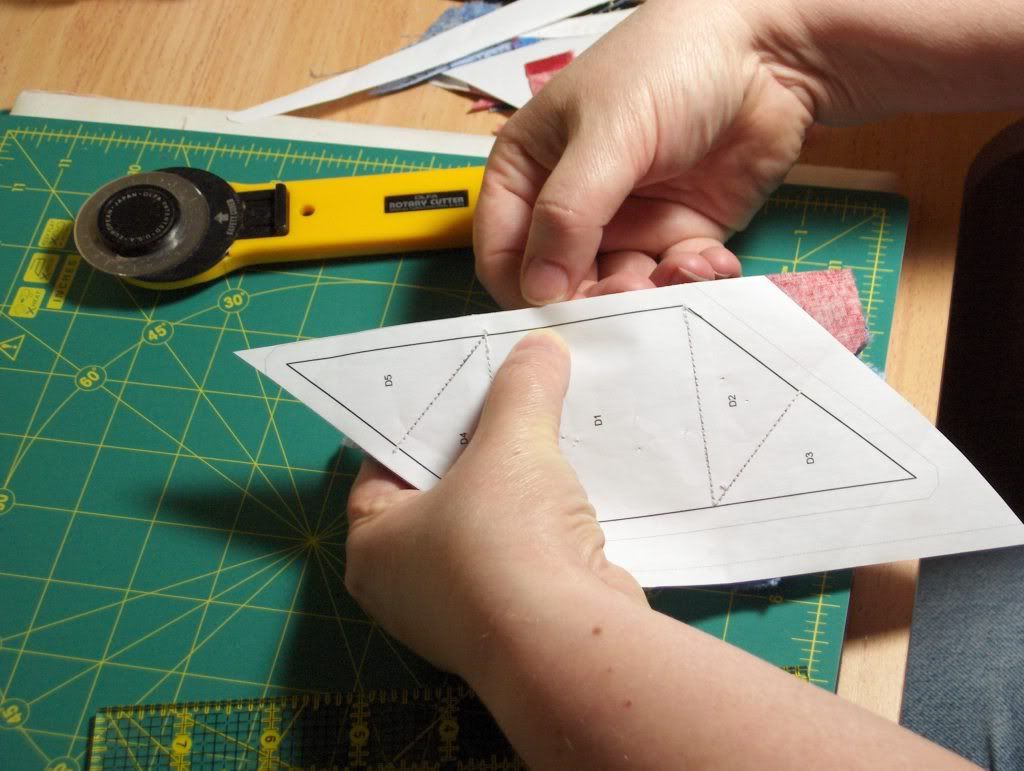 This is how it should look when you're done trimming:
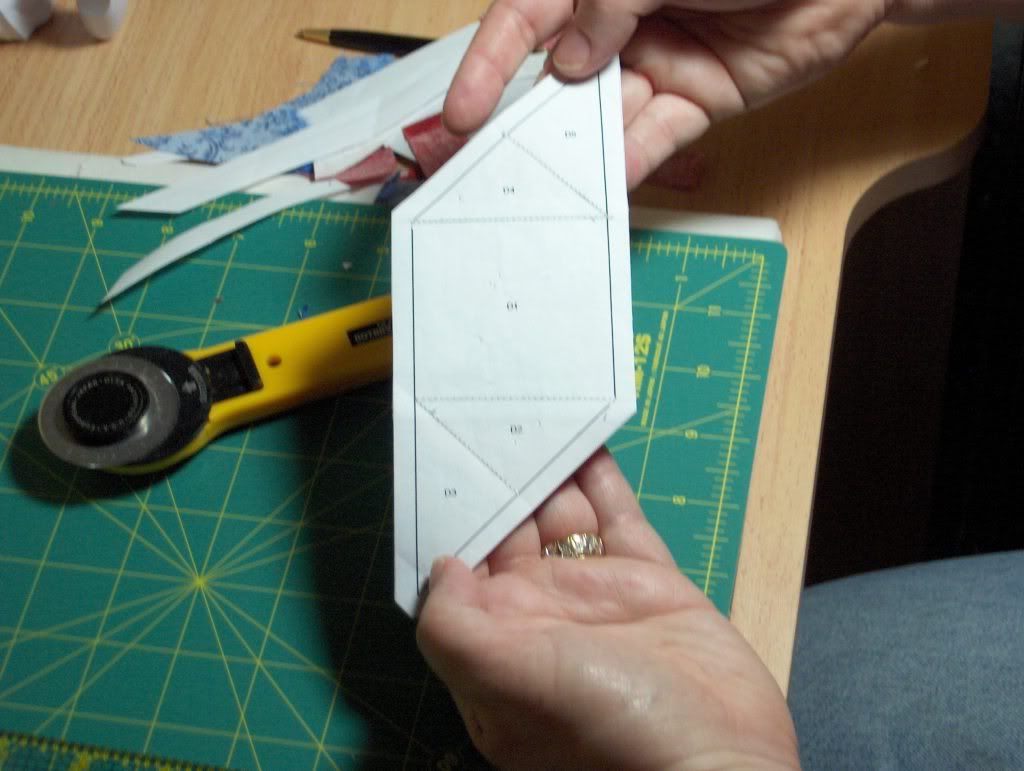 You can see the pattern growing on the fabric side.
To assemble the star I had to line up the pieces using the pattern. This kept all the pieces right side up.
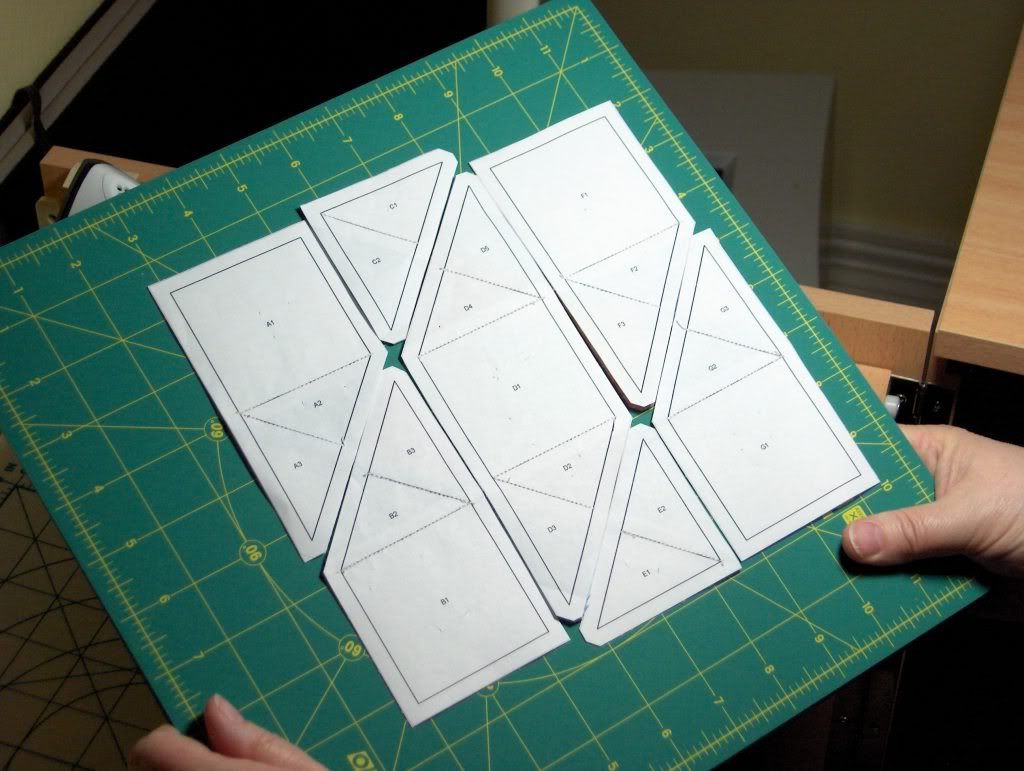
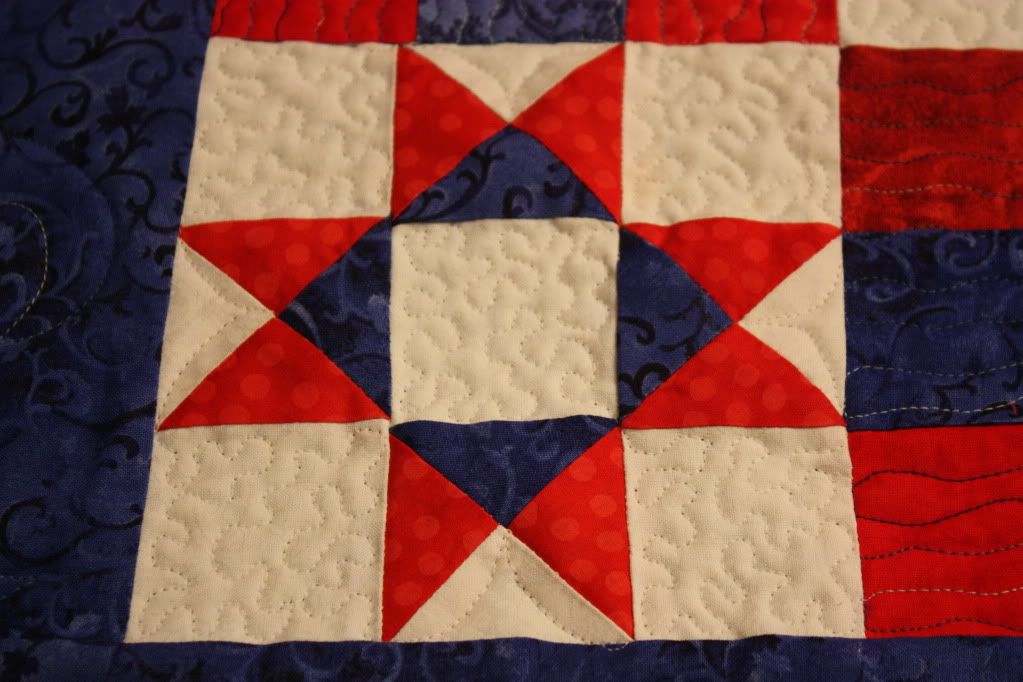
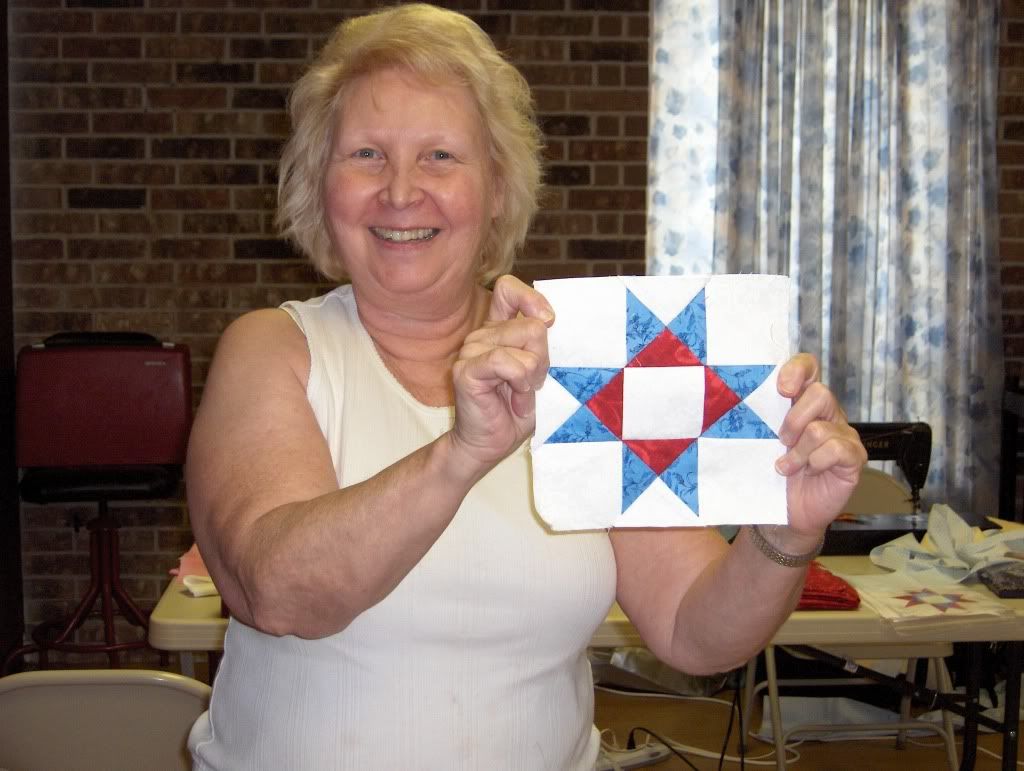
I flipped them over carefully and here is my Ohio Star, all ready to be carefully pinned and sewn together. More on that later.

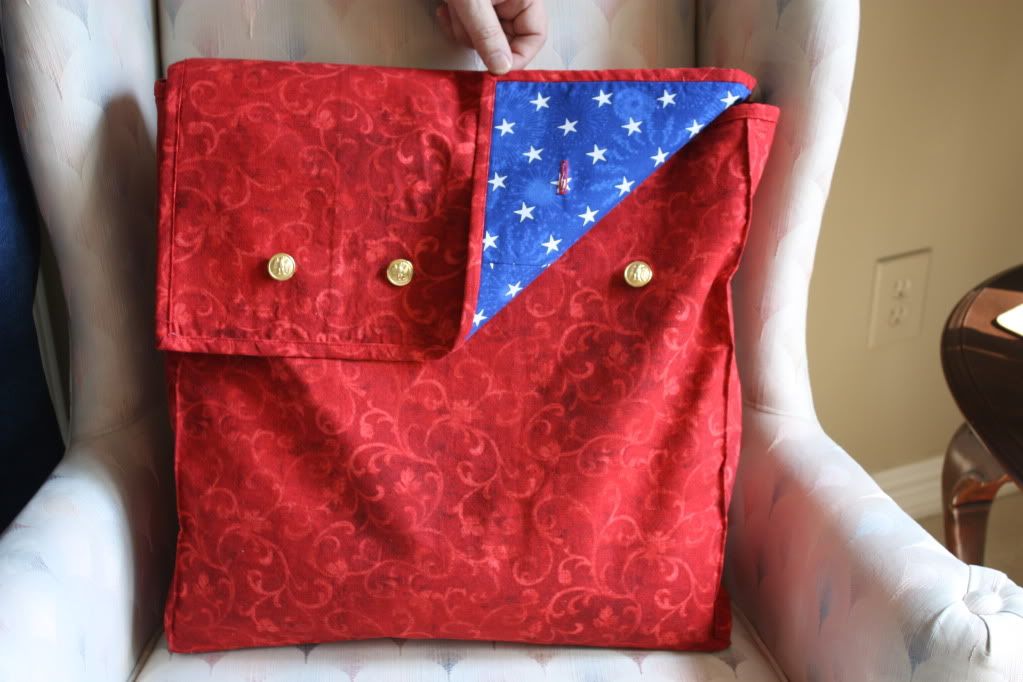
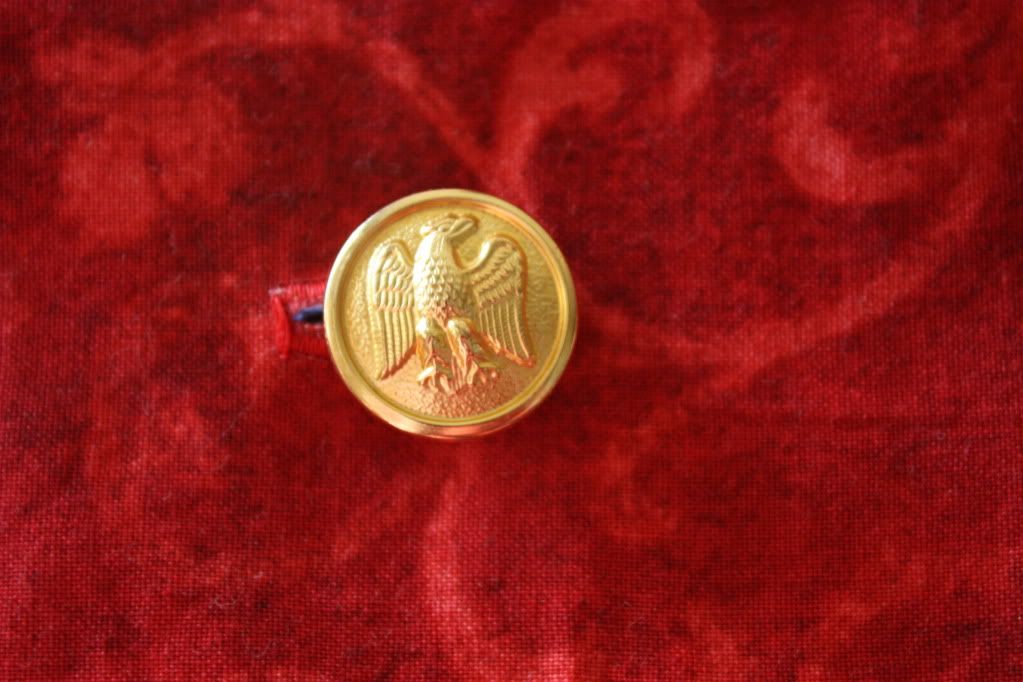
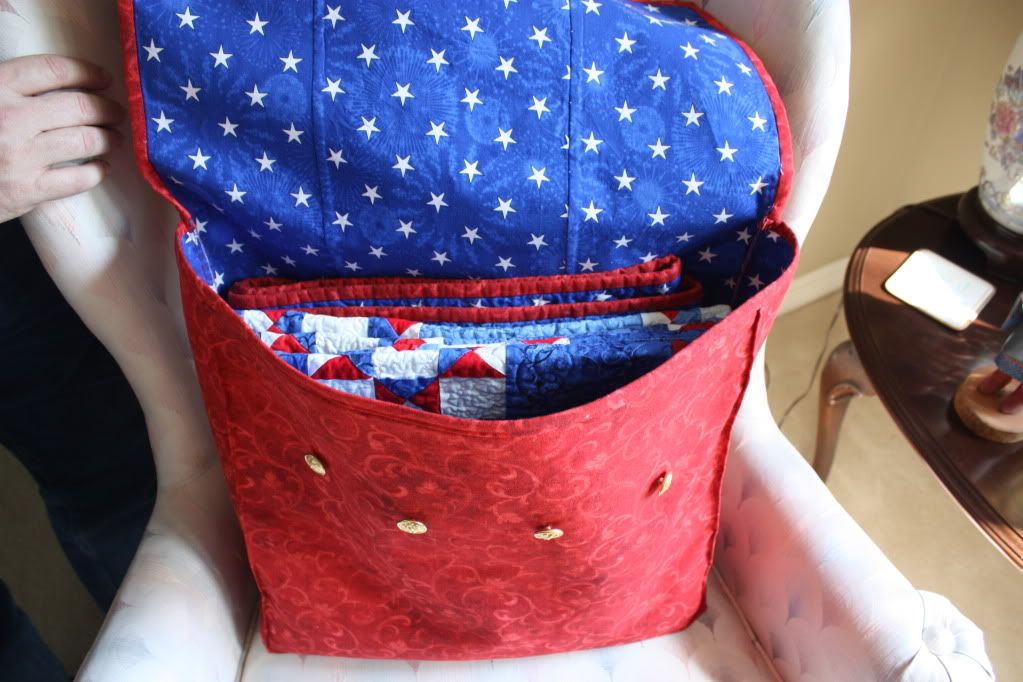 These buttons were located at JoAnn's. I made sure the eagles were all standing up straight.
 Gee, it fits in there like it was made for it or something. ;)
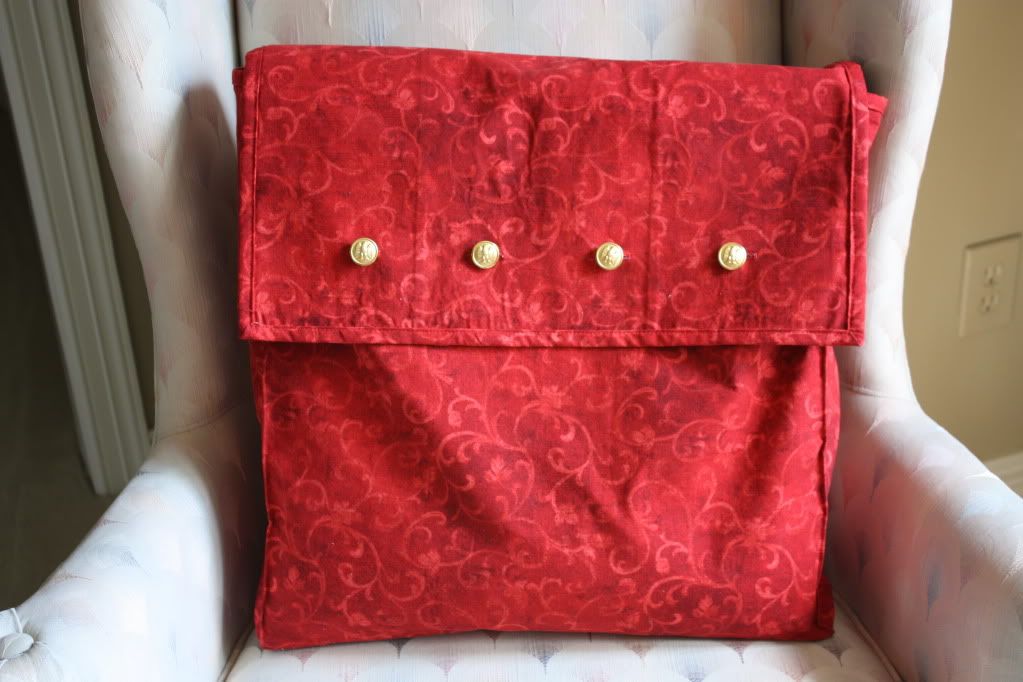 It's all ready to go, except the quilt still needs to be labeled. (Cheers to Dorthy for taking on that task. And a double Hoorah to Sheila for creating the accompanying scrapbook "journal".)