Now that the sewing machine has been disassembled (as much as practical) and the paint stripped, it's time to start putting some paint back on.
This was a big learning step for me, because I had never worked with automotive paints before, nor had I ever used an airbrush. So the first thing to do was, get an airbrush!
 |
| The New Airbrush |
 |
| The Old Reliable |
This is a
Badger Patriot 105 fine tip airbrush. Research on the web pointed to this model as a good choice for basic, all-purpose painting. We already had an air compressor, a venerable Power Pal that has proved indispensable over the years.
Next step was acquiring the paint, starting with the primer. Refurbishing websites and videos suggested automotive paint was best for this, with an etching primer to provide good cohesion to the metal of the sewing machine chassis. This primer proved hard to find at the local hardware store. Finally, I was able to special order it in a quart size from a
NAPA auto parts store. It was an unfortunate olive green, but it was going to be thoroughly painted over before I was done.
 |
| Bad Primer Coat |
Here is one of my first attempts. Because I was mixing the primer and extender improperly, it did not spray on properly. The primer dried in mid-air, and deposited as a fine dust that rubbed off, instead of a liquid that bonded to the metal. You can see the paint flaking off along the bottom lip. I had to take this coat off, get the mix right, and put on a new, solid primer coat.
By this time, we had discovered
The Coating Store, which has all kinds of automotive paint in more colors that you could imagine. They also have convenient "motorcycle kits", which bundle all the necessary paints and additives into one kit, in sizes appropriate for about one motorcycle's worth of automotive paint. Since I figured that one motorcycle's worth equaled several sewing machines, that looked better that buying paint by the gallon.
So we picked a base coat color (Tahitian Black Pearl) and a clear coat, and I was ready to paint again! I applied three or four coats of the base coat, sanding smoother each time.
 |
| Tahitian Black Pearl |
Before the clear coat, the decals had to be placed. We had chosen the Celtic pattern, relatively inexpensive and simple. Decals were placed around the edges and the center of the bed, up the throat and along the arm. (This was the worst decal of them all; it's why my DW now hates decals and wants to stencil everything else!)
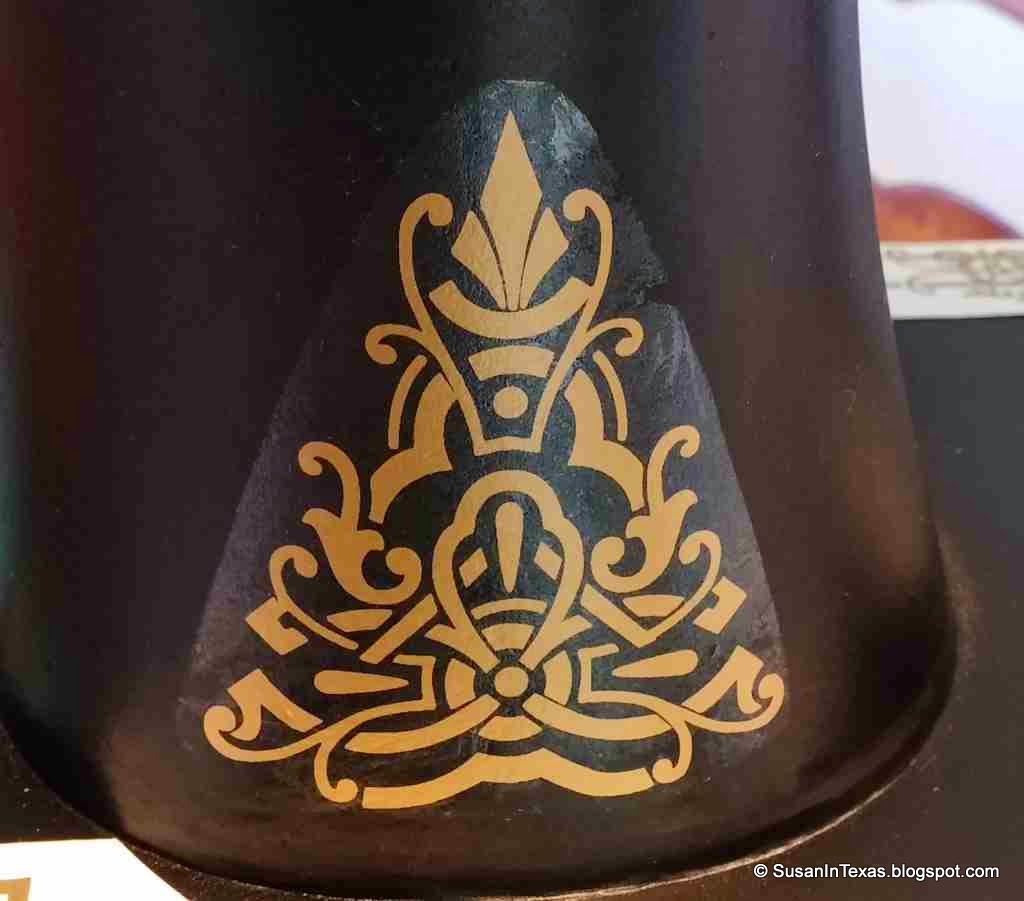 |
| Golden Decals |
Next, several coats of clear coat were added, sanding between each to smooth the finish and remove the rise due to the added decals. A final polish and the painting is done!
 |
| Clearcoat applied |
Or at least, it would be if (1) I had been painting the balance wheel and bobbin winder along with the rest of the sewing machine, and (2) I hadn't marred the finish near the slide plates and needle plate when re-assembling the machine. Now I am working to repair the damage done to to the paint, and catch up painting the remaining pieces.
Next time, reassembly and making it work.
Larry


