Showing posts with label Singer Saturday. Show all posts

Sunday, September 6, 2015

Singer Restoration Sunday - Stripping off the old paint

Here is the Model 66 I'm working on, with most of the rust and old paint removed.


I removed this much with an electric drill sander, using 60-80 grit sandpaper. Next week, I will use my sandblaster to get at the harder-to-reach parts (like the inside of the throat and the underside).

Larry

Tuesday, August 18, 2015

Tatting(-less) Tuesday - Strolling Through Silverton

Larry is in Oregon for a few days, but my tatting is still at home. I forgot to pack it! Oh, well, I will just have to catch up for next week.

In the meantime, I have been walking about lovely downtown Silverton, and checking out the shops.  In several of the antique stores, I found vintage sewing machines.  The first one was a bentwood case model, an Old Homestead II:

Old Homestead II model sewing machine and case - Top View
 It is apparently an electric motor version, although the motor is not currently installed, and I didn't see a belt for it anywhere

Old Homestead II model sewing machine and case - Front View
 I believe that is the foot controller, to the left of the motor.  If you look closely, you can just make out the worn lettering of the end of the name, inside the decal on the arm.

Old Homestead II model sewing machine and case - Storage Compartment
Included in the case was this storage compartment, to the right of the machine, with a few additional attachments and spare needles. A wooden top slides into grooves around the edges to close up the compartment.

Next I spotted a treadle table and machine in the corner of another store:

Treadle Machine - Front View

Treadle Table - Front View
 This appears to be a Singer machine, given the Singer Manufacturing Company badge on the front of the throat.  Also found there is a label from a company (based in Los Angeles) that apparently worked on it some time in the past.

Singer Badge and Repair Shop Label
 Here you can better see some of the detail of the artwork still decorating the arm and throat.

Front View

Rear View
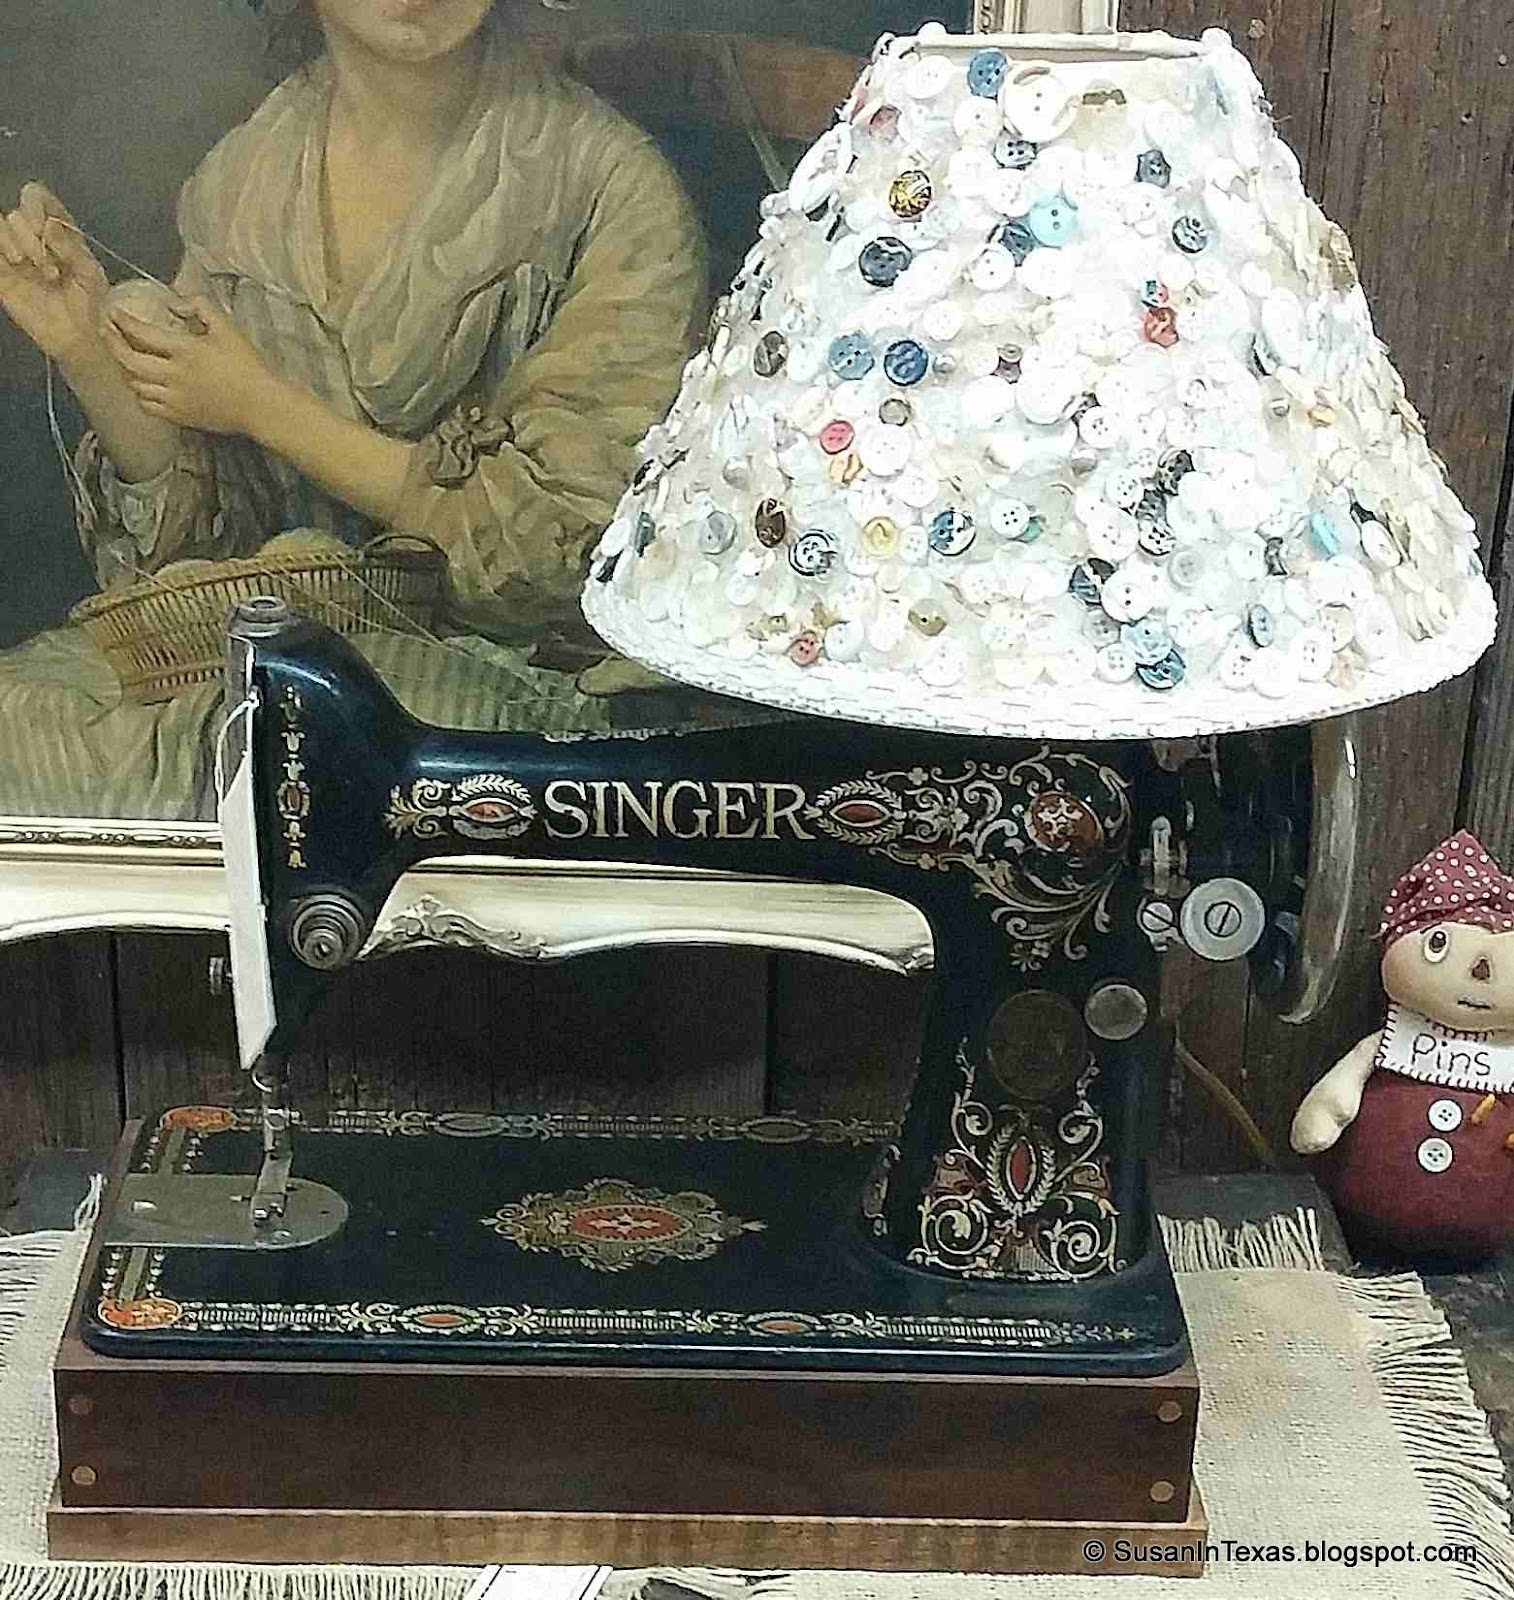
Finally, at yet another shop, there was a machine (already sold!) that had been made into a lamp.

Singer Sewing Machine Lamp
I don't think this is the approved way to add a light onto your sewing machine!  The lamp works, of course, and the machine can still be turned, although I am unsure that it would actually sew. And I don't know if they had to drill bigger holes in the machine to thread the wires through, or if the original holes were big enough.

Larry


Saturday, August 15, 2015

Singer Restoration Saturday - Singer Emblem Removal

The brass Singer Manufacturing Company badge, all shiny and new again.

Shiny again
Removing the badge on the front of the throat is tricky.  It is held in place by two brass pins, which are pushed through the holes in the badge and the throat, and then are bent over inside. It isn't easy to reach these pins, straighten them out, and push them back out again.

What is not as hard is to break the pins at the bend when trying to straighten them, and then gently pry them loose. With this badge, I was able to get one of the pins out intact, but I broke the other one.


The shinier areas on the badge are where dirt flaked off while working the pins loose.

What you are left with is a clean spot on the machine, and a number worked into the metal of the body.

Relatively Clean Spot

Sometimes I think the expected way to remove the badge is to clip off the pins, pull off the badge, and replace them with all new pieces.  And sometimes I think you're not supposed to remove the badge at all!

Larry

Saturday, August 8, 2015

Singer Restoration Saturday - Cleaning up the rusty parts

To remove the rust from the parts removed from the sewing machine (especially the visible ones), I soak them in a vinegar bath for a couple of days.  This converts the insoluble red iron oxide (rust) into (more) soluble black iron acetate, which can then be scrubbed off more easily.

I start with the parts in a plastic bin:


Parts ready to be de-rusted
I then pour in enough vinegar to cover the parts.  If you do this a lot, you may want to start buying the gallon jugs of vinegar.

After soaking a couple of days, the parts are ready to be scrubbed down.


After soaking
Some of the color in the vinegar is because I used some cider vinegar to top off the bin, but most of it is from the converted rust and grime from the parts.

Next I take an old toothbrush and scrub off the remaining black stuff from the parts.  A sink with running water is the best place for this.


The cleaned up parts
You can see some of the parts, like the long feed dog rod, still has a rusty look to it.  As an internal part, the look is not so important, but you might want to give it a wipe with a bit of oil to keep the rust away.

The balance wheel's rust has been removed, but the areas that were rusty have still lost their paint.  I suspect the whole wheel will need to be stripped and repainted (and the pitted places on the rim smoothed out).

The most improvement comes in the chromed external parts.


Before
After


This is a now a faceplate that would dress up a sewing machine.

Larry


Saturday, August 1, 2015

Singer Restoration Saturday - Preparing Stencils and Cleaning Parts

Last week, I was only needing to get a few more pieces of the Model 66 I'm working on, and I could start stripping the head.  I wound up having to get a new screwdriver, one with a narrow enough head to fit through an access hole in the back of the faceplate area, and short enough not to bump into the arm with the handle.

My other screwdrivers were too wide or too long
Now I just need to get the brass Singer badge off the side of the arm, and I am ready to strip off the paint.  I will have to reach in and straighten these pins so that I can pull them out and release the badge.

Not as badly bent as in a Model 127
And, of course, there is the cleaning of the parts I took off.  A little scrubbing with soap and water and a toothbrush really makes a difference.

These two parts used to look the same
And finally, I am trying to work with stencils, rather than decals.  I have captured a photo of the Singer logo on the arm, and will try to 
use it as a stencil when repainting it.


That's all for now!
Larry

Saturday, July 18, 2015

Singer Restoration Saturday - Dollie Complete

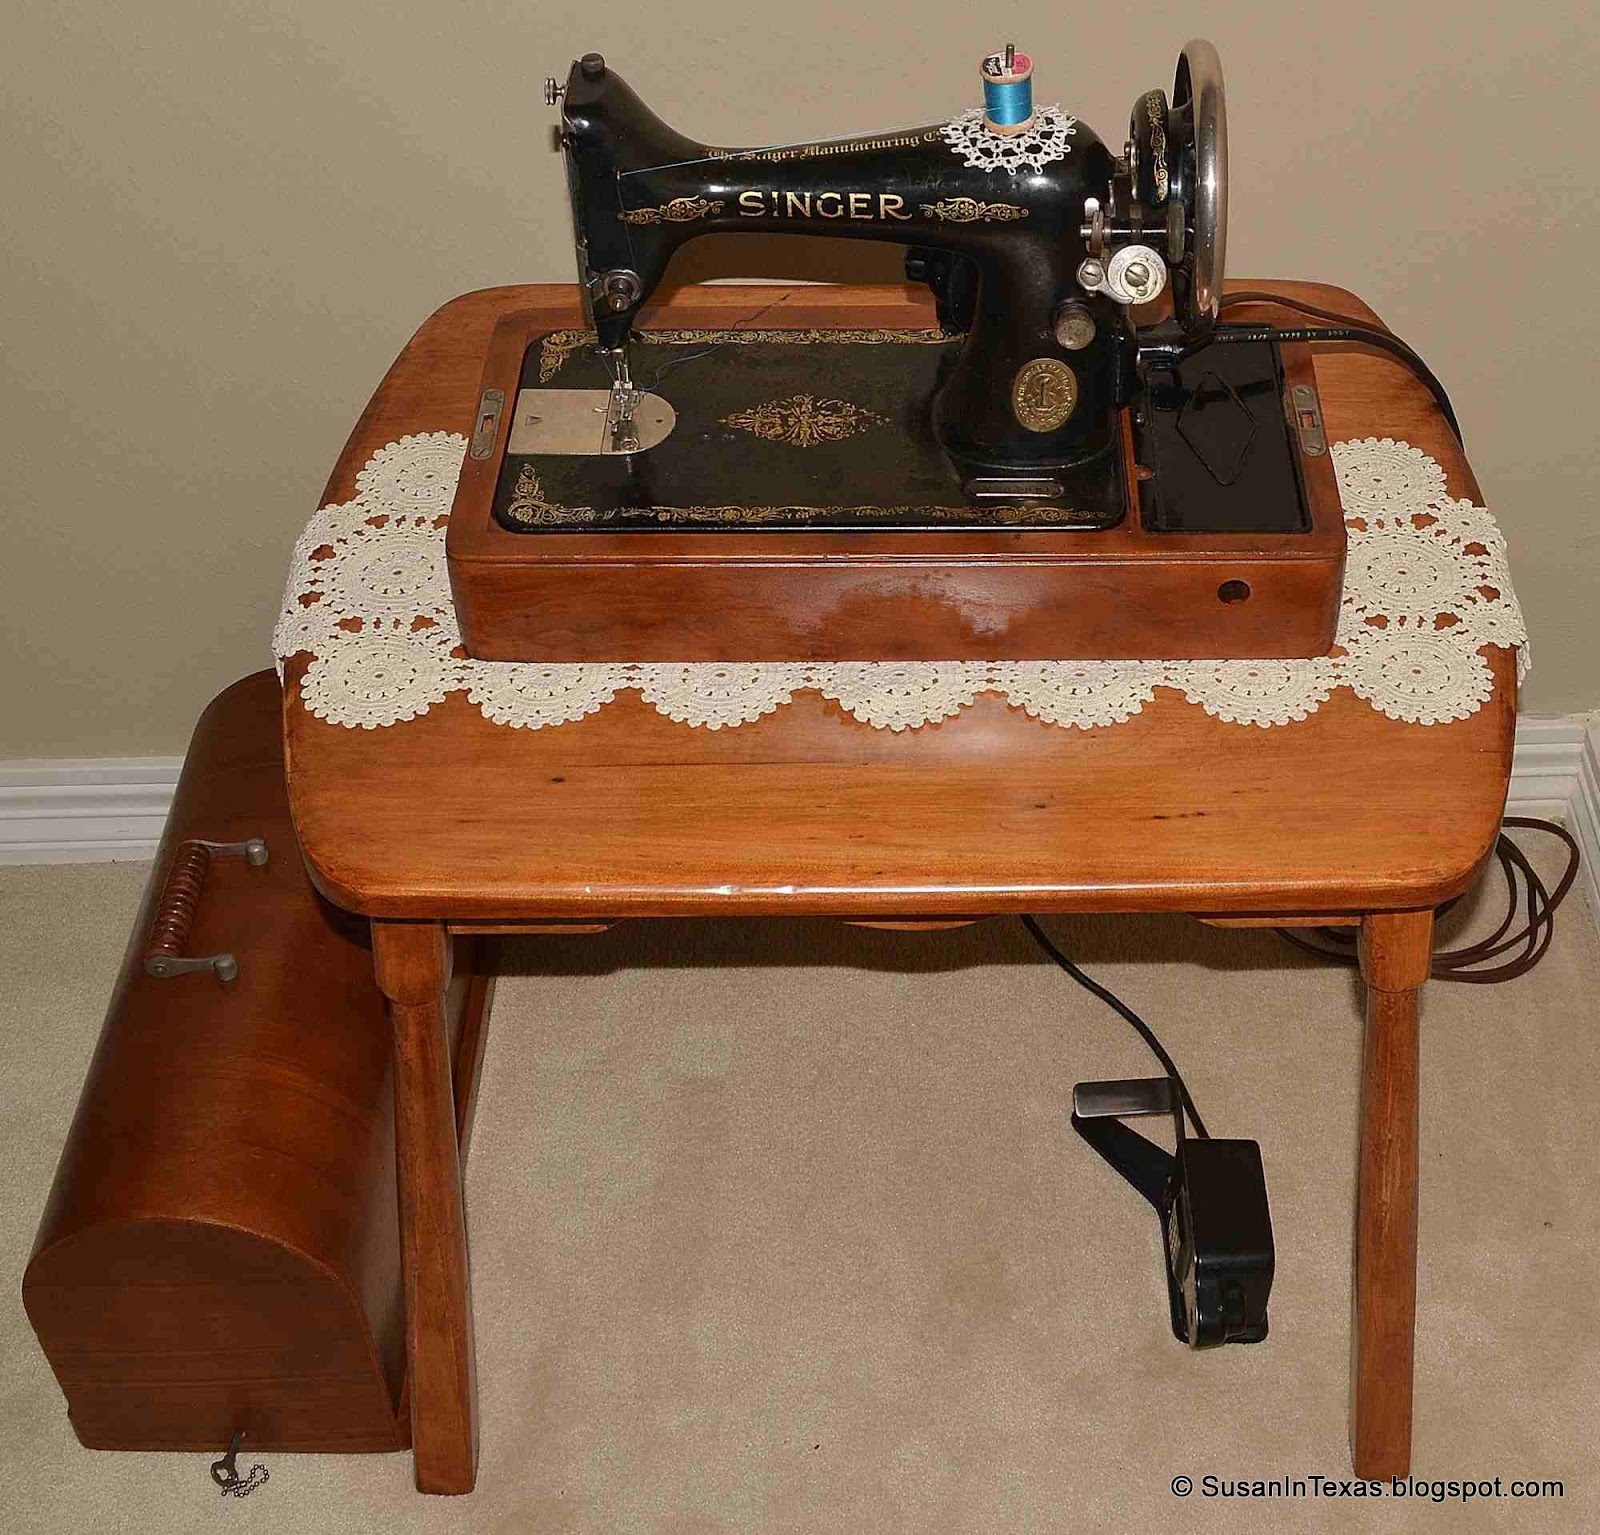
After all the excitement of the trip to Green Bay, I finally finished the restoration of my great-grandmother's Model 99K and case (nicknamed "Dollie" after her), and a little table to display it on.


Dollie ready to go
The crocheted runner that Dollie is resting on was made by my grandmother (Dollie's daughter). It makes a nice touch, in addition to protecting the finish on the table.


Closed up for storage
Everything packs up neatly for storage or transport. The wires for power and the foot control coil up nicely and stow in the space below the arm.


Top removed

Power Cord and Foot Control unpacked
The two wires run from the motor (on the back of the throat, just peeking out from behind) to the right and down to plug into the wall and set up where the user's foot would be.


Plugged in and Foot Control in place 
On to the next project!

Larry

Saturday, June 13, 2015

Singer Restoration Saturday - Dollie Progress and a Mystery Unearthed

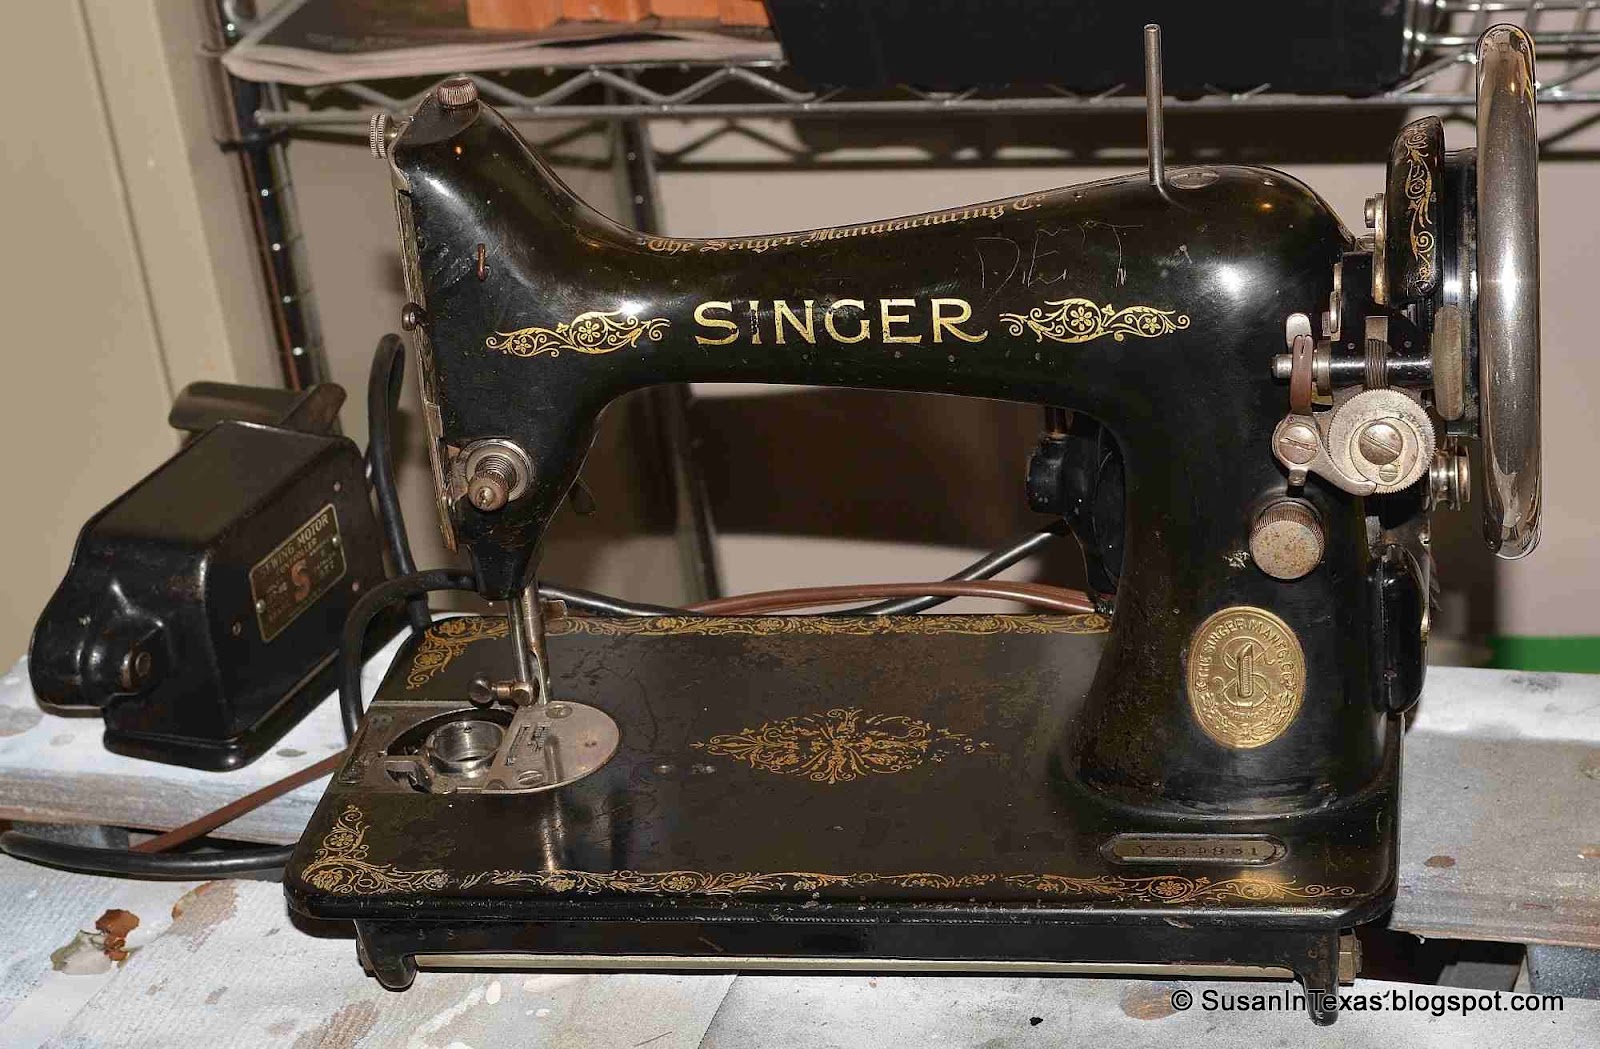
Have not made a lot of progress with Dollie the past week -- distracted by the new car lol.  I have applied a couple of coats of paste wax on her to get her ready for her closeup.  If you enlarge the image you can see the initials "D.E.T." scratched into the surface.  I would blame that on my sister, Denise, but her middle initial is 'A'.  And Dollie, was Dolly Franklyn Dunn Henderson, so that's not it.  I believe we have a new family mystery!

Dollie - freshly shined up
The finish is even worse than I remembered.  Maybe someday I will want to completely redo it; but for now, I will concentrate on finishing the display table.  It needs to be flipped over so a coat of polyurethane can be put on the legs on the legs.

Display table
I will focus next week on getting it all together!

Larry

Saturday, May 30, 2015

Singer Restoration Saturday - Bentwood Case

I think the bentwood case is just about finished.  A little buffing, perhaps, and then begin putting the hardware back on.

Model 99k Bentwood Case
Along with the bentwood case, I have been refinishing a small table that we brought home from my father's house.  It had sat on the patio exposed to the elements for quite a while, and then I used it as a support for painting.  As you can see, the original varnish was essentially gone, and several scratches had been gouged into the top, Then I dripped paint (regular interior wall paint) on it.


Table Top View - Before
Table Legs - Before

Using an orbital sander, I removed the paint splatters, old varnish, and weathered wood. I also sanded out the scratches, as much as possible without leaving dips and valleys in the wood.

Next, I rubbed on a Minwax stain and varnish product to put some color back in the wood.  
Table Top - Progress

Table Legs - Progress
I would like to get the table nearly as dark as the bentwood case, and use it as a display table.  But I don't think the table is taking the stain quite as strongly as the case. When it is as dark as I can get it, I will put on a nice tough polyurethane to protect it.  And then not leave it on the patio any more.

Larry

Saturday, May 23, 2015

Singer Restoration Saturday - Bentwood Case

I have been working on restoring the bentwood case for "Dollie", my great-grandmother's Singer Model 99K.  Now I am applying a satin polyurethane clearcoat to protect the stain applied earlier.


Bentwood Case - Top and Bottom
The clearcoat went on nice and shiny, then the gloss 
relaxed into a nice satin finish.

In about an hour, I can gently sand it smooth and apply another coat.

Larry

Saturday, May 16, 2015

Singer Restoration Saturday - Bentwood Case Progress

Continuing to restore the bentwood case for "Dollie", the 1992 Model 99K that belonged to my great-grandmother.


Front of case top
The first coat of stain went on rather unevenly, and it seemed to raise the grain on the top.  Not too surprising, since it had seen some damage over the years.  


Before restoration
I sanded gently to even out the darker areas, and then very gently overall to smooth out the raised grain. The second coat went on much better, although I can still feel the grain raised again here and there.


Front of case bottom
The big scratch on the end, as expected, remains an issue.  I doubt it will improve much.  I'll have to see what can be done to camouflage it. 


Big Scratch - Before

Big Scratch - Current
The wood filler I've used to fill a couple of gouges is not taking the stain as much as the wood of the case.  I will have to touch it up, or even try a darker flavor of wood filler to get a better match.


More later,

Larry

Saturday, May 9, 2015

Singer Restoration Saturday - Bentwood Case Restoration

I have removed the old finish and most of the scratches from the bentwood case for "Dollie", the 1922 Singer 99K that belonged to my great-grandmother, Dollie Dunn Henderson. 


Model 99K bentwood case - front, old finish removed
The case used to be really beat up.  It was surprising and gratifying to see how many of the ugly scratches sanded right out.

Before - all scratched up

A little more sanding, and it will be ready for staining and finishing.

I am still not sure what to do about the big scratch on the top of the end of the case.


Before - scratch on end
It got much better, but it still highly visible.

Sanded down end

The scratch is so deep, it will be hard to sand all the way out.  I am afraid I might accidentally go all the way through the veneer to the base wood below.  I am considering placing a label there to cover the mark.  That is probably a better idea than further sanding or wood putty.

More later,

Larry

Saturday, May 2, 2015

Singer Restoration Saturday - Bentwood Case Refinishing

The Model 99K that belonged to my great-grandmother included a bentwood case. The case was generally in good shape, but had collected a lot of nicks and scratches over the years.


Bentwood Case Base
Bentwood Case Top
To begin the process of refinishing it, first I removed all the hardware.

Front of base
End of base
Top and inside of base
Bottom of base
Scratch on one end of top
Then, I began to gently sand off the old varnish, and sand out the nicks and dings.

Front of base - Sanded

End of base - Sanded
End of top - Sanded

I can already see that I will have to be careful with some of the deeper scratches (like on the end of the top) --  I don't want to sand through the veneer and have to replace it all!  Once I get it all cleaned up, I will sand it again with a finer grit, then re-stain it and spray on a tough overcoat.  

More to come.

Larry