First I removed the paper from the large center square on the block. The inset seams are much easier to align after the center paper is gone, because the blocks move much more freely without it. I also ripped out paper around the inner point on both the top and bottom of the block to get a clear field of vision.
I swept my finger between the two pieces of fabric to get all the inner seam allowances out the way of the next seam. I did not do this at first and my previous seam allowances got sewn to the front of the block. Yuck!
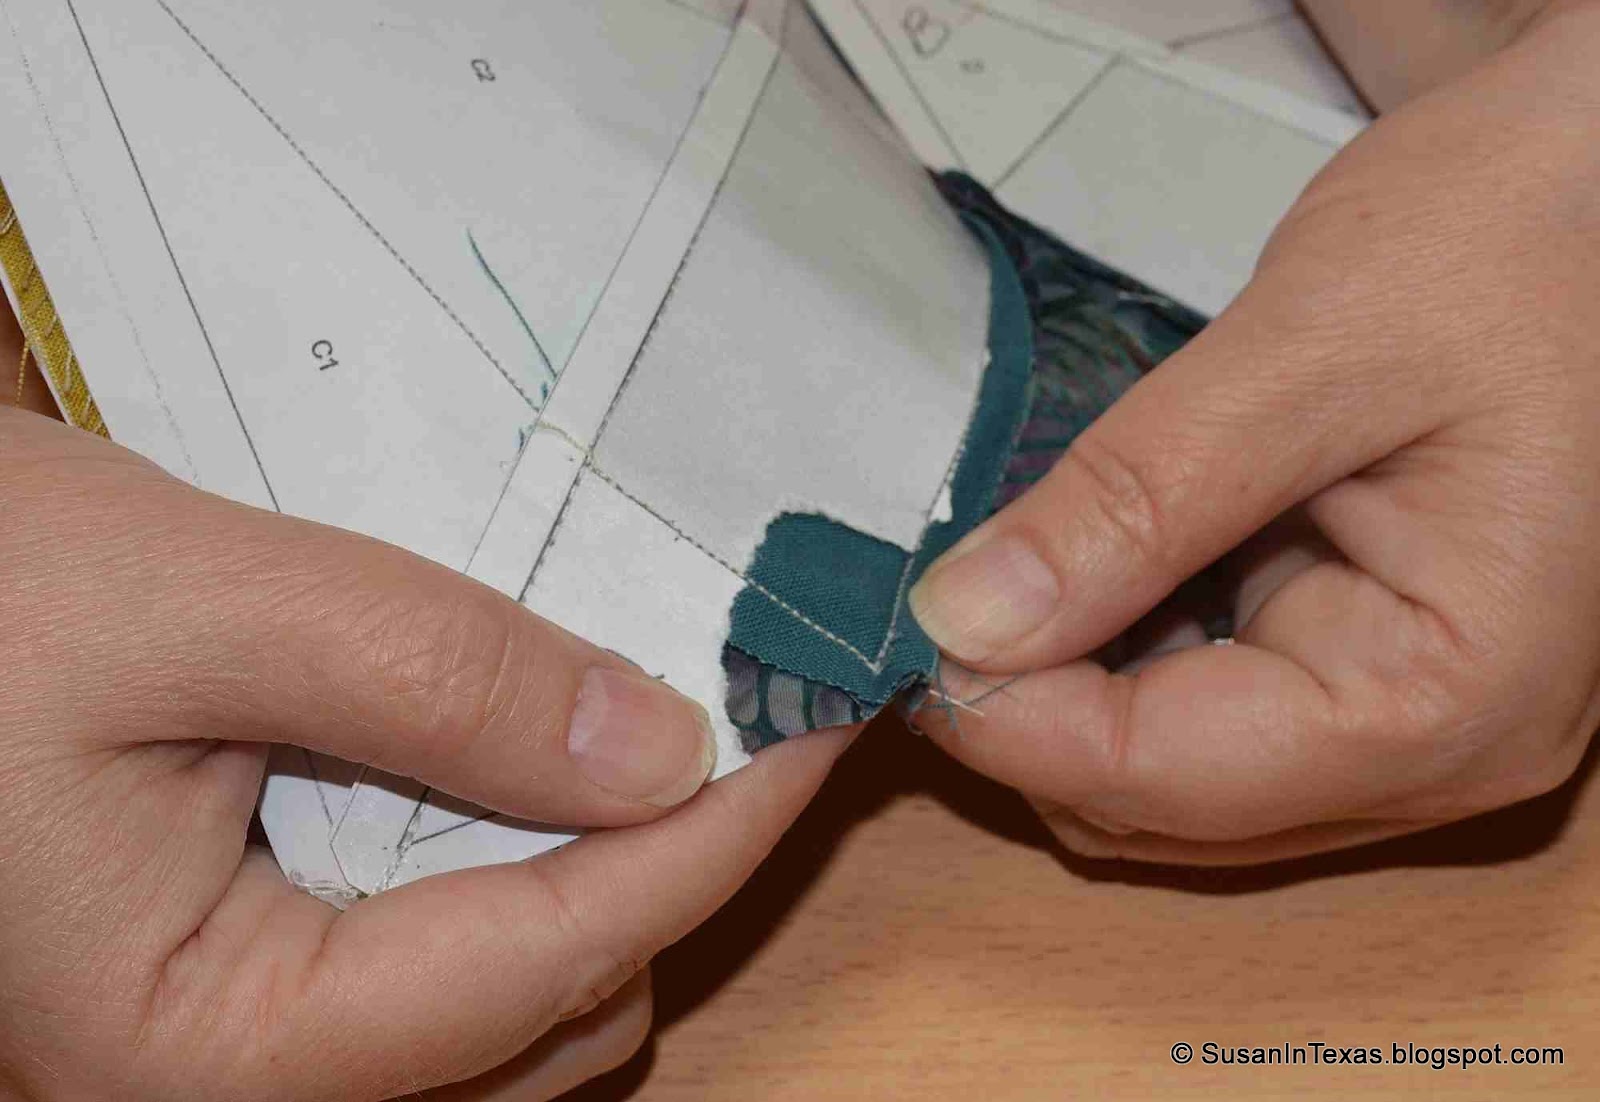
I then stuck a guide pin straight through the point, just underneath where the two seams came together, making sure to check the back to verify the pin was coming out in the correct location too.

I looked between the fabrics to verify the guide pin did not catch on anything it was not supposed to, and to verify that all the previous seam allowances are well from the next seam.

I placed a pin at the point, right underneath the guide pin, making sure it evenly bisected the angle. I will start sewing at this pin, so it needs to be as close as possible to the guide pin. After this pin is in place, the guide pin is removed.


It is finally time to sew the seam. Place the point directly under the needle. Sometimes my two previous seams did not quite meet. When that happened, I aligned the needle just behind the pin to avoid having a tiny hole at the point. When laying the block beneath the needle, take the time to sweep back the seam allowances so they lay flat on the underside. I skipped this step a few times and some of those underside seam allowances got sewn in all wonky.

With some of the paper gone, use the quarter inch foot to get the correct seam allowance, and aim for the line on the paper. Always use a leader and ender for this type of sewing, you do not want a thread nest at the point!

With 100 inset seams on 25 blocks, I got lots of practice in this technique. It was not as bad as I had feared, and I got very good results when I followed all the above steps.

Now I just have to remove the rest of the paper, iron the blocks and trim them down. I gave the blocks an extra quarter inch to allow for paper-piecing "shrinkage". I do not believe I would do that again. These larger blocks do not seem to experience shrinkage to nearly the degree that that tiny Dear Jane blocks do, and now I have to trim them all down, but that is a task for another day.


1 comment:
your perseverance has certainly paid off such neat seams and a very clear tutorial of how you managed it.
Post a Comment