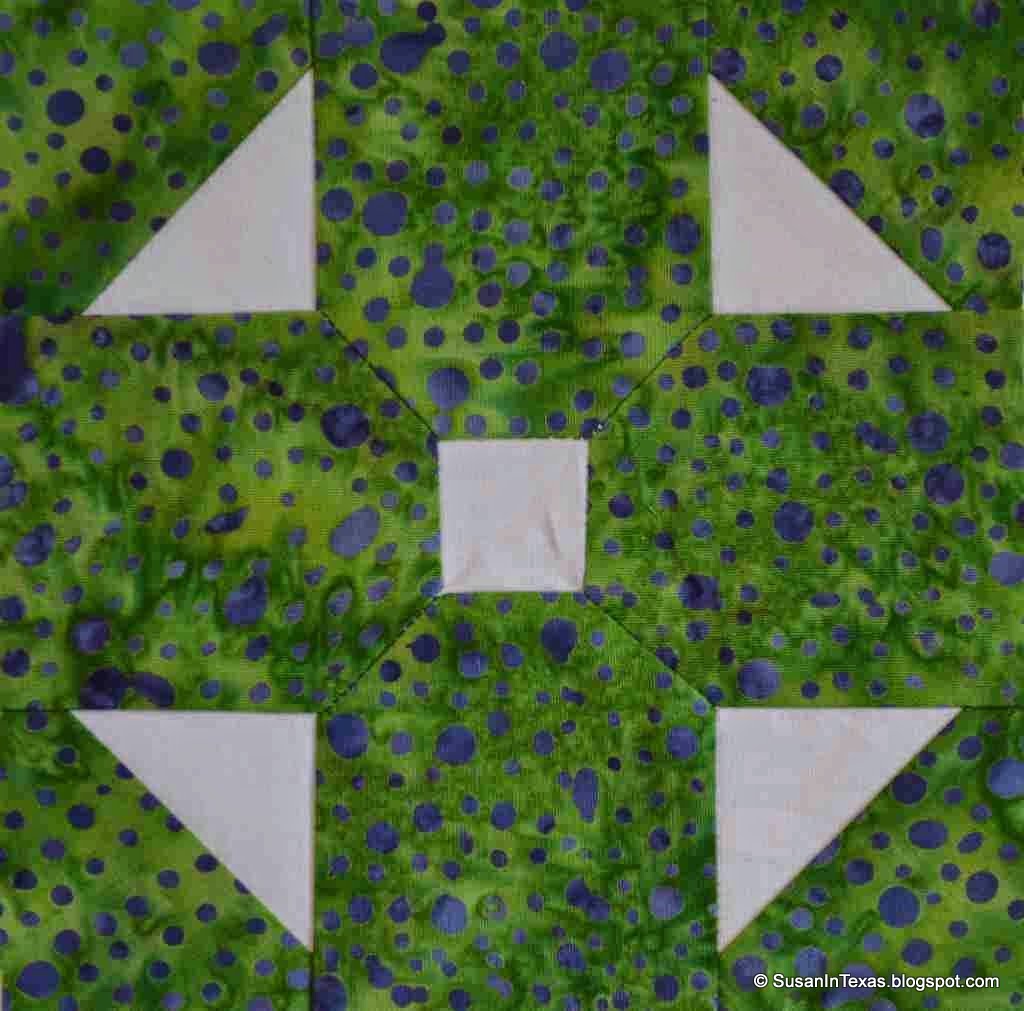
I paper-pieced the half square triangles, then completed the block in three strips. I drilled through the paper to place dots on the wrong sides of the fabric where the seams need to start and stop, then I removed the paper because it just got in the way. I pinned at two dots, then sewed the strips together, starting with the central square seam. I repeated the process for each of the five separate inset seams, moving out from the center, stopping and starting for each seam. It seemed to take forever, but the process went very smoothly, and I am very pleased with the results.
I have always had a problem with using the paper for units that only have one piece because there is nothing holding the paper to the fabric. I do not like to use pins because they always deform the paper a bit. I came up with the idea to machine baste the paper to the fabric in the seam allowance. It worked great, and made trimming the units a breeze. I am going to use this method from now on. I always add an extra quarter inch seam allowance to the outside edges of the block in case of shrinkage, so that is where I basted.


When I considered how to iron this block, it seemed to lay much flatter when I kept the muslin perfectly flat. To do this, I had to press open the short inset seams between the muslin. This was tricky, but aside from being a little shaggy, I think the back looks pretty good. In any event, I am no longer intimidated (too much) by inset seams.


Happy quilting!


No comments:
Post a Comment